Upgrading a Gen10 MicroServer with an SSD
Posted on June 28, 2018
The HPE Proliant Microservers have been very popular machines among home server enthusiasts for a good few years now. The small form factor and low power consumption make them great home NAS servers. They are also very quiet which is a major benefit for me as I have my Gen10 set up in the living room of my apartment.
I went for the basic entry level version (HPE ProLiant MicroServer Gen10 X3216) as it was enough for my needs. I was looking for a NAS server that could also double as a GitLab server. I wouldn't recommend this entry level version if you are hoping to run more than 2 or 3 VMs. The AMD Opteron CPU does not have enough grunt for a virtualization server. To be honest it would even struggle as a Plex media server with two CPU cores at a base frequency of 1.6GHz (boosting up to 3.0GHz). It also comes with just 8 GB of RAM which doesn't get you very far these days. I added another stick of 8 GB RAM because I was planning on using a ZFS filesystem in my NAS server. For more of the specs you can check out the HPE website.
Why add an SSD to your MicroServer?
There are a couple of reasons why you would benefit from adding a solid-state drive to your MicroServer. SSDs greatly decrease boot times when compared to standard hard drives. I know you generally shouldn't plan on booting your server too often but sometimes it has to be done and an SSD will significantly reduce the downtime caused by a reboot. Installing an SSD will also allow you to use all four of the included 3.5 inch hard drive bays for storage.
I did some quick searching online and I couldn't find a simple one pager on how to do this so here it is.
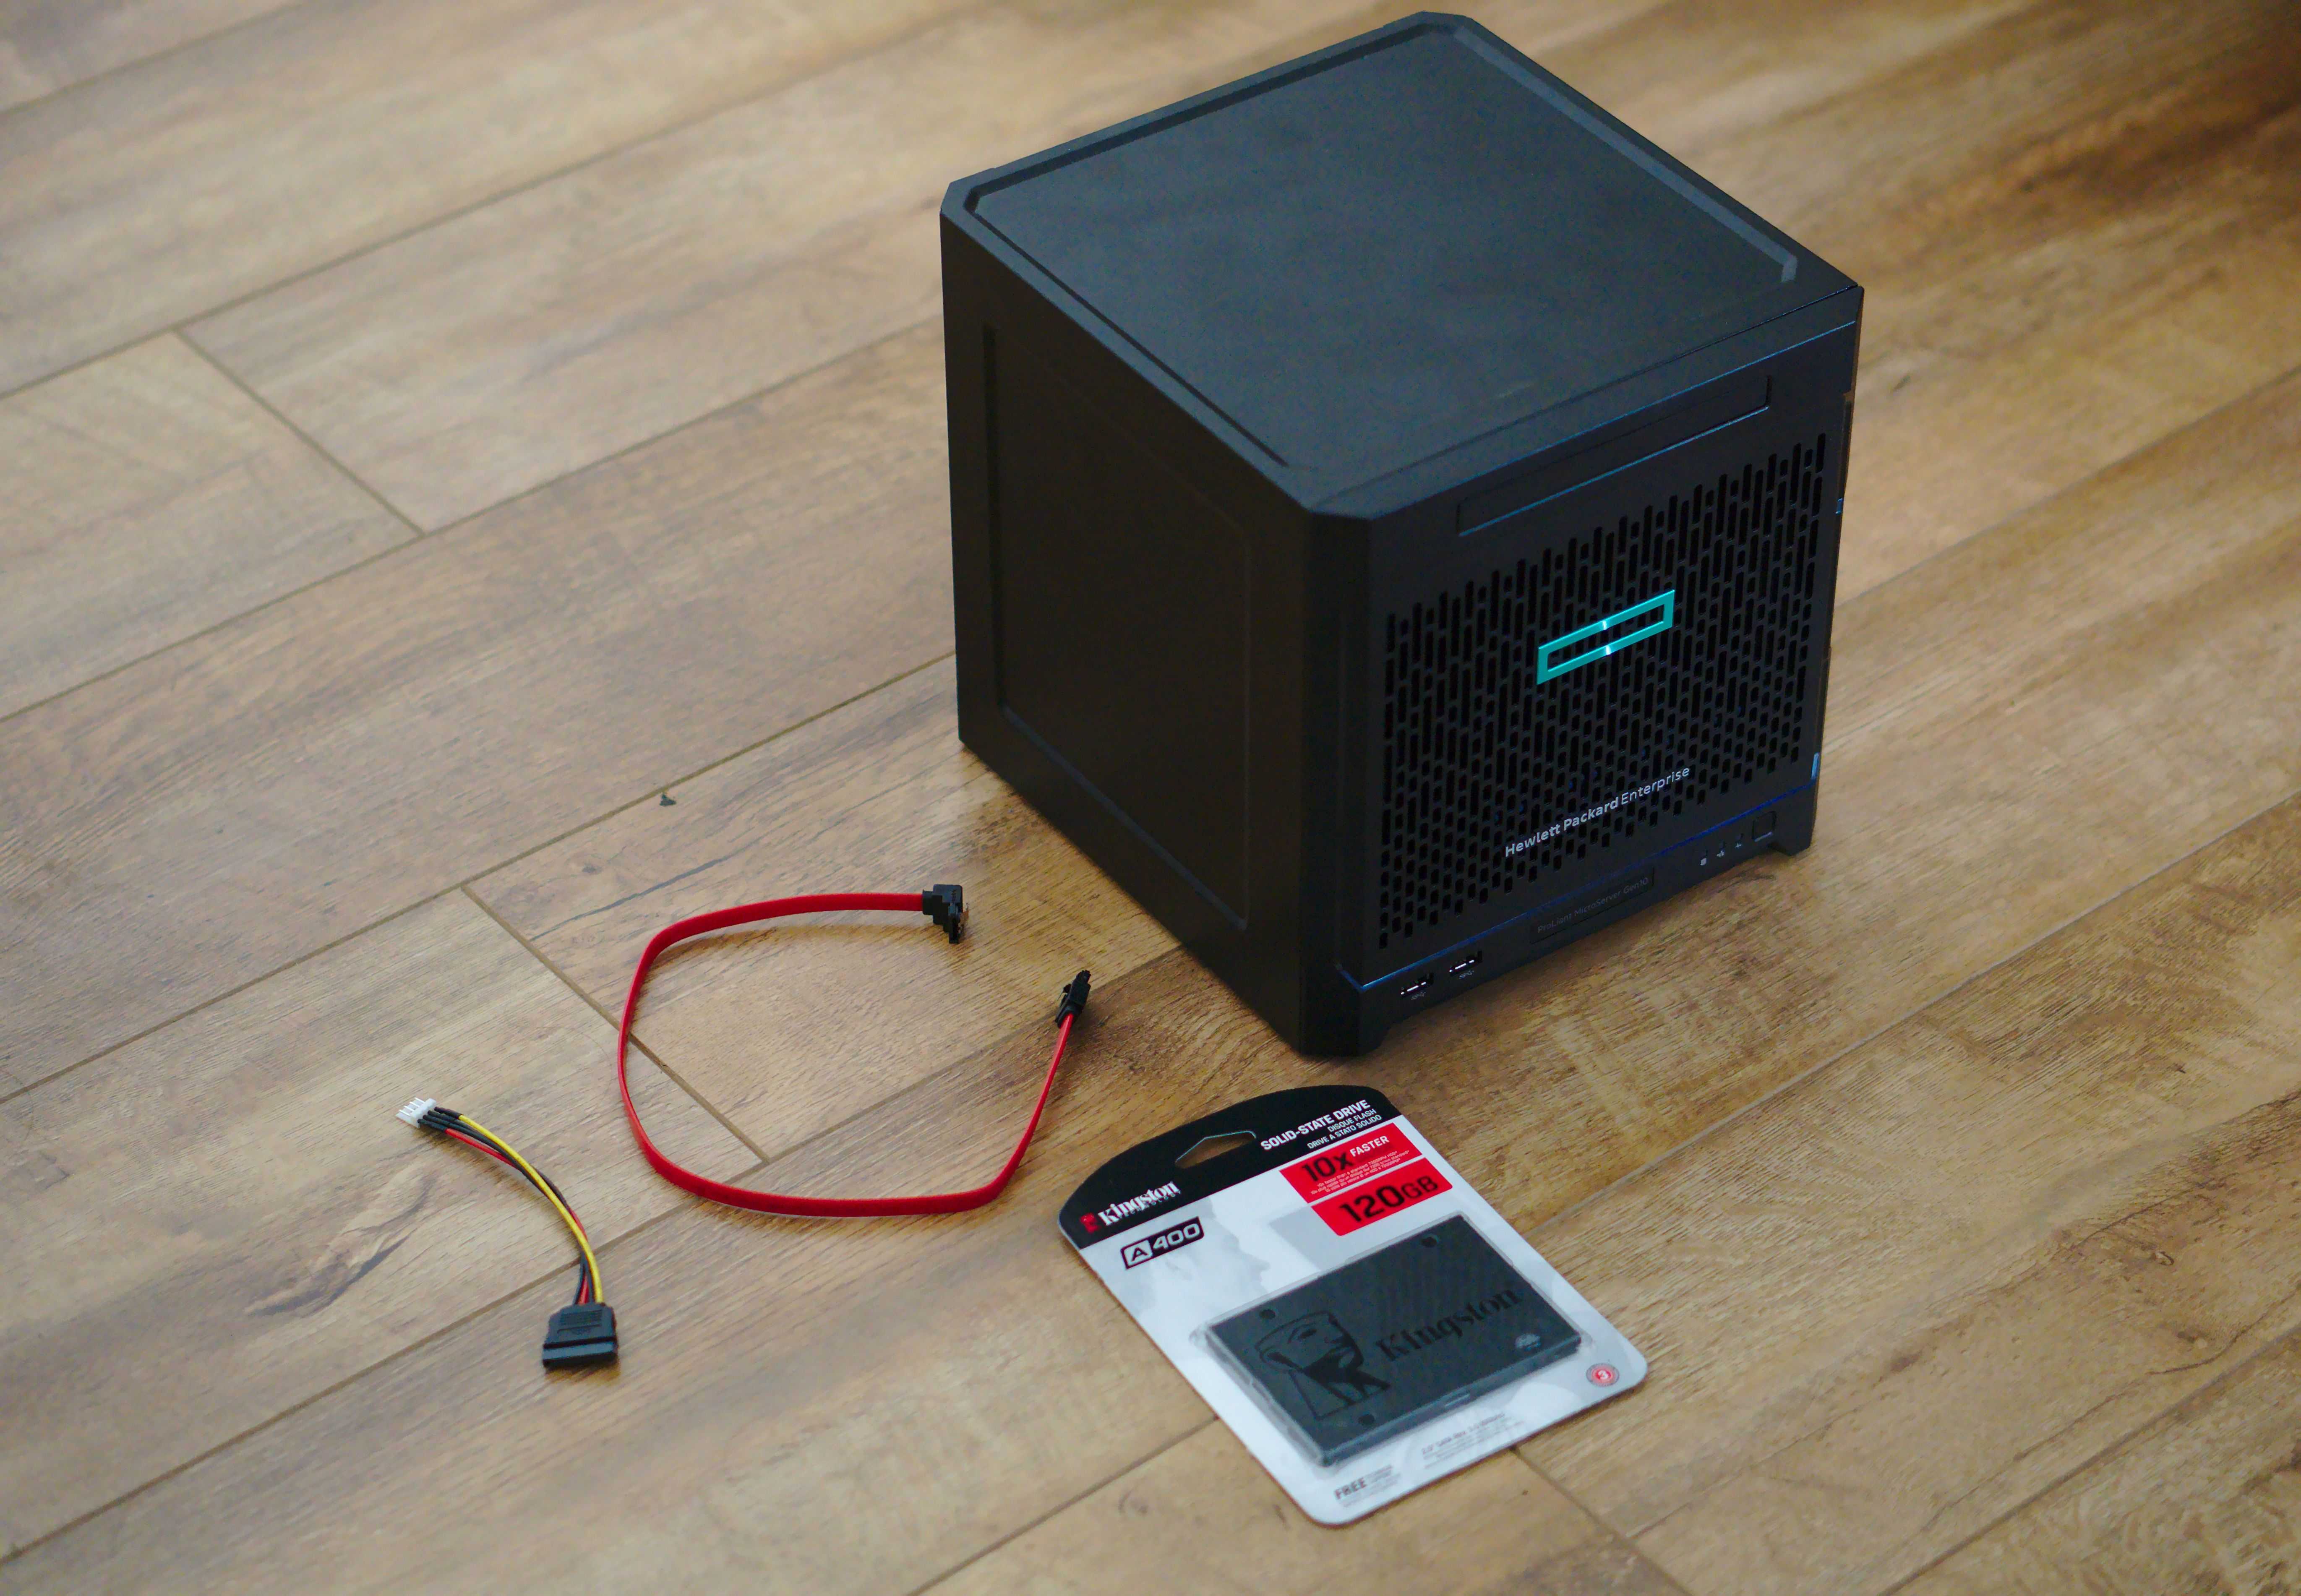
The parts you'll need:
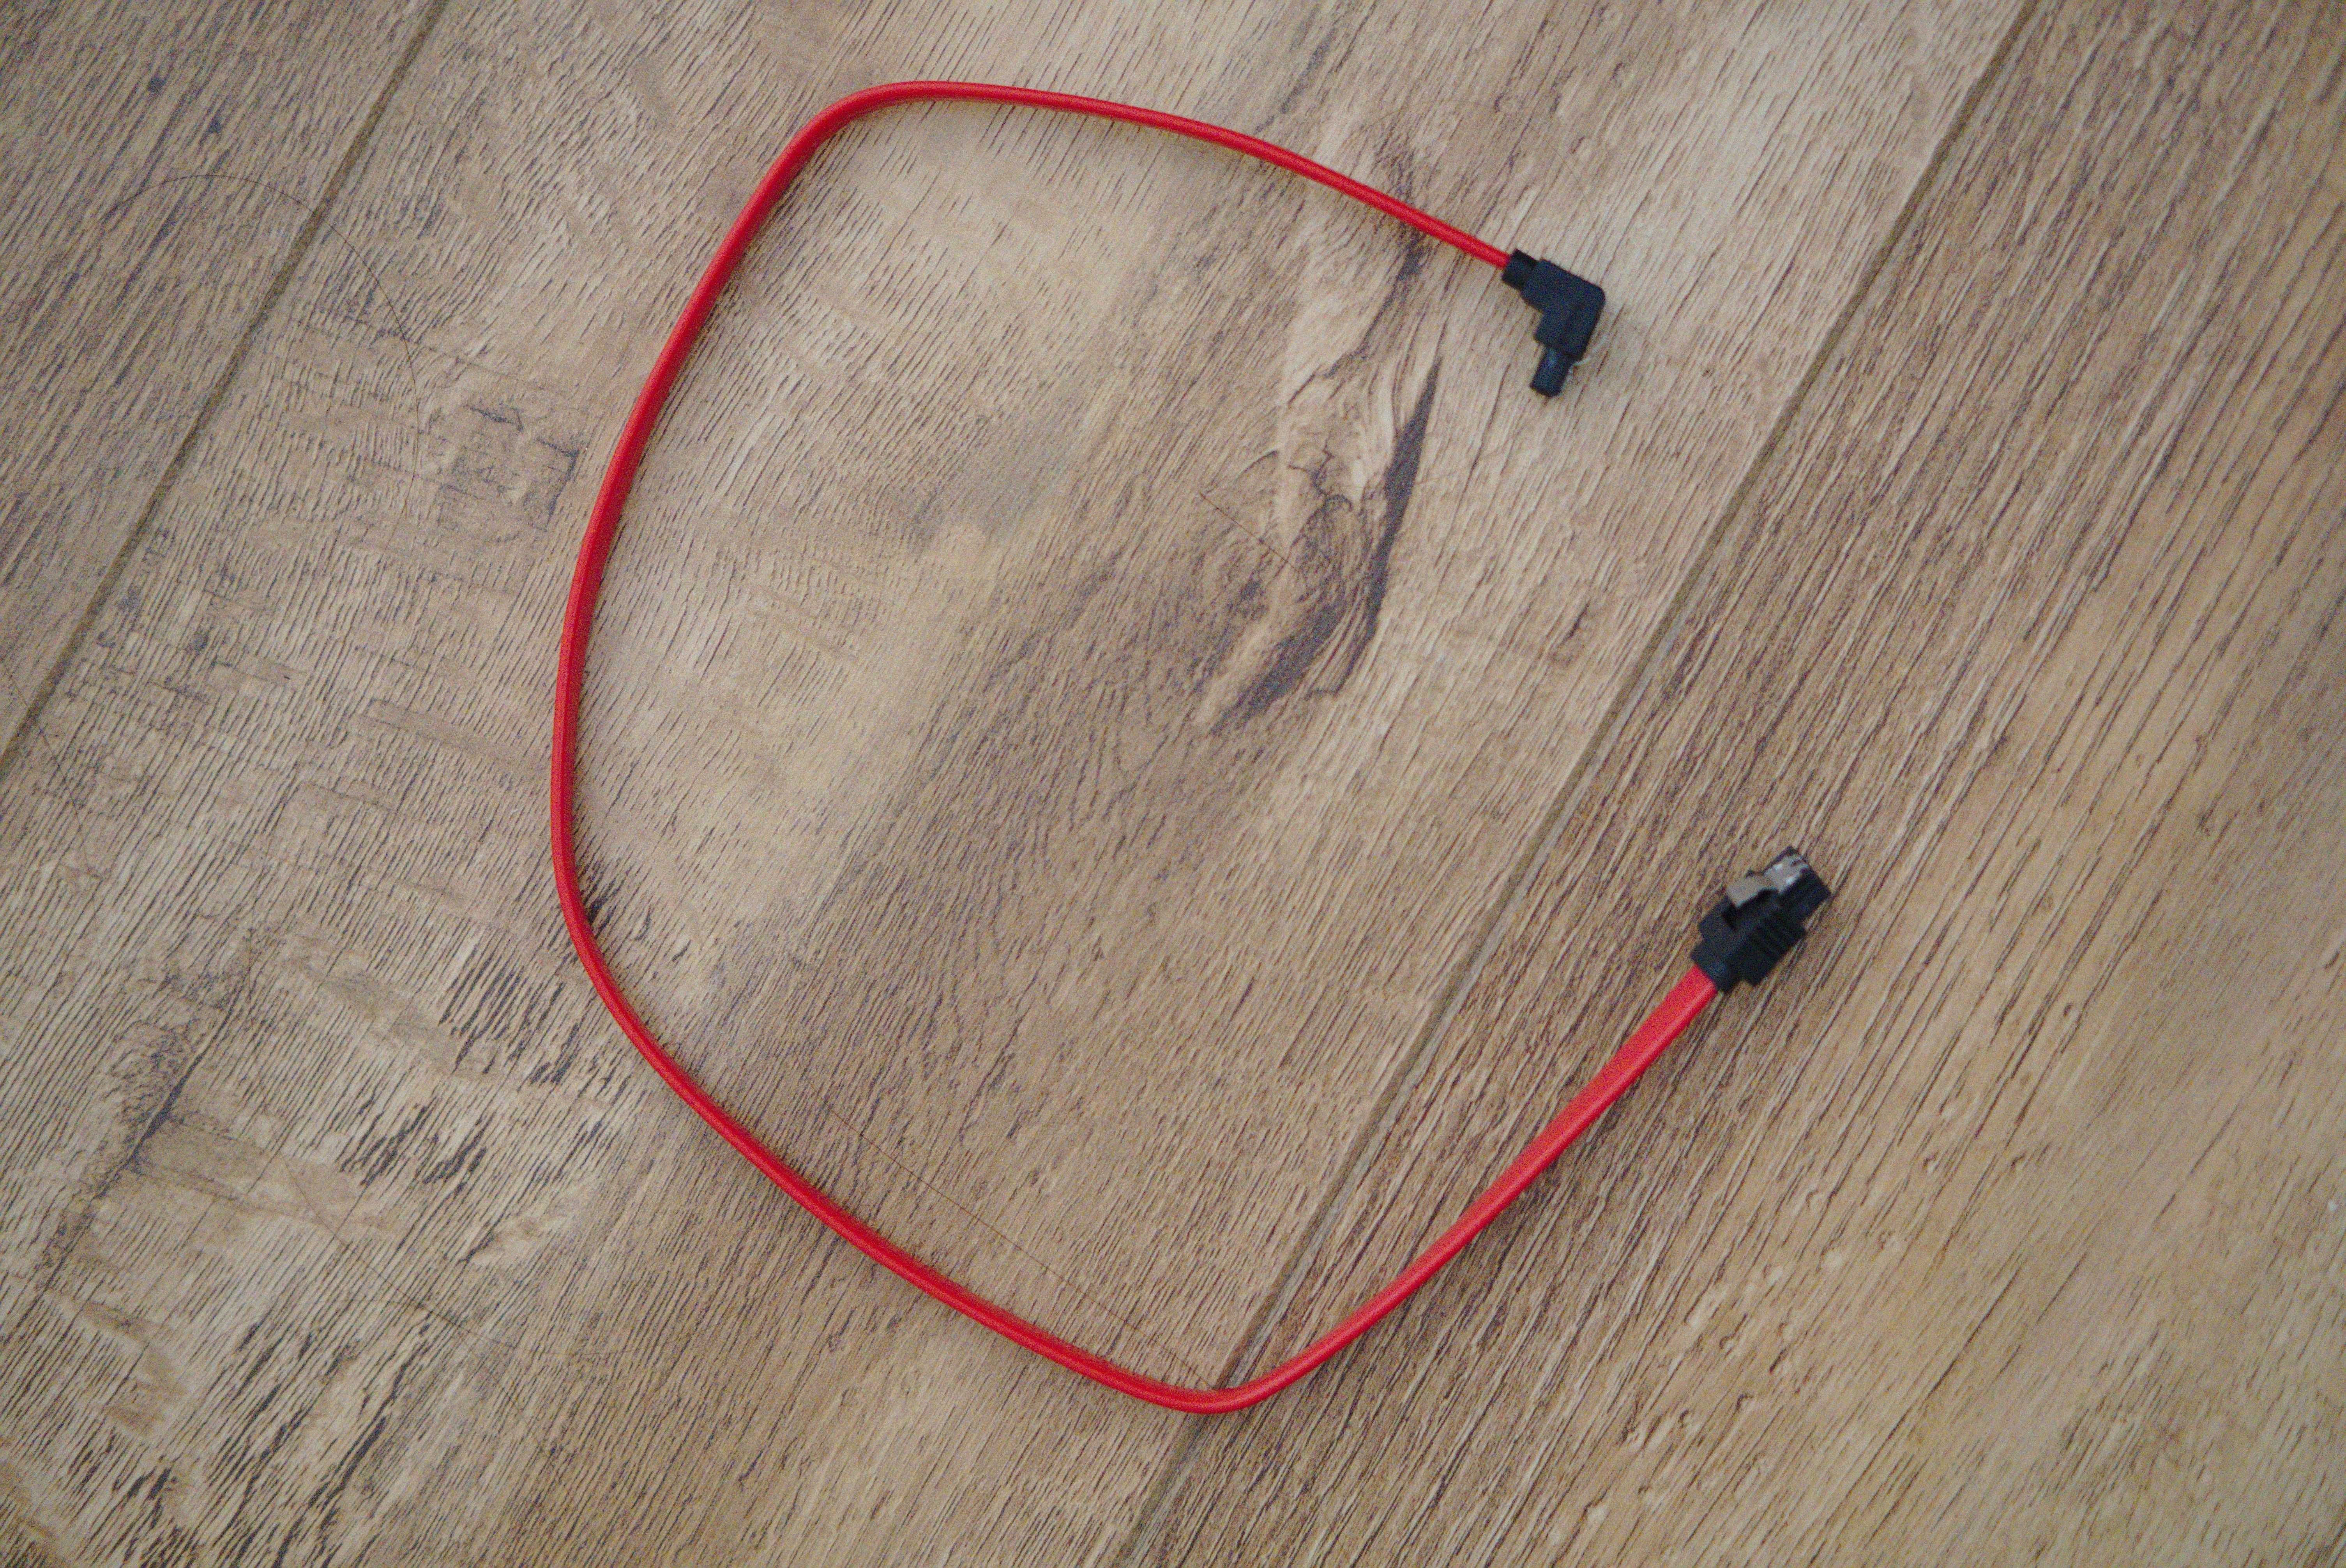
- One SATA Data Cable
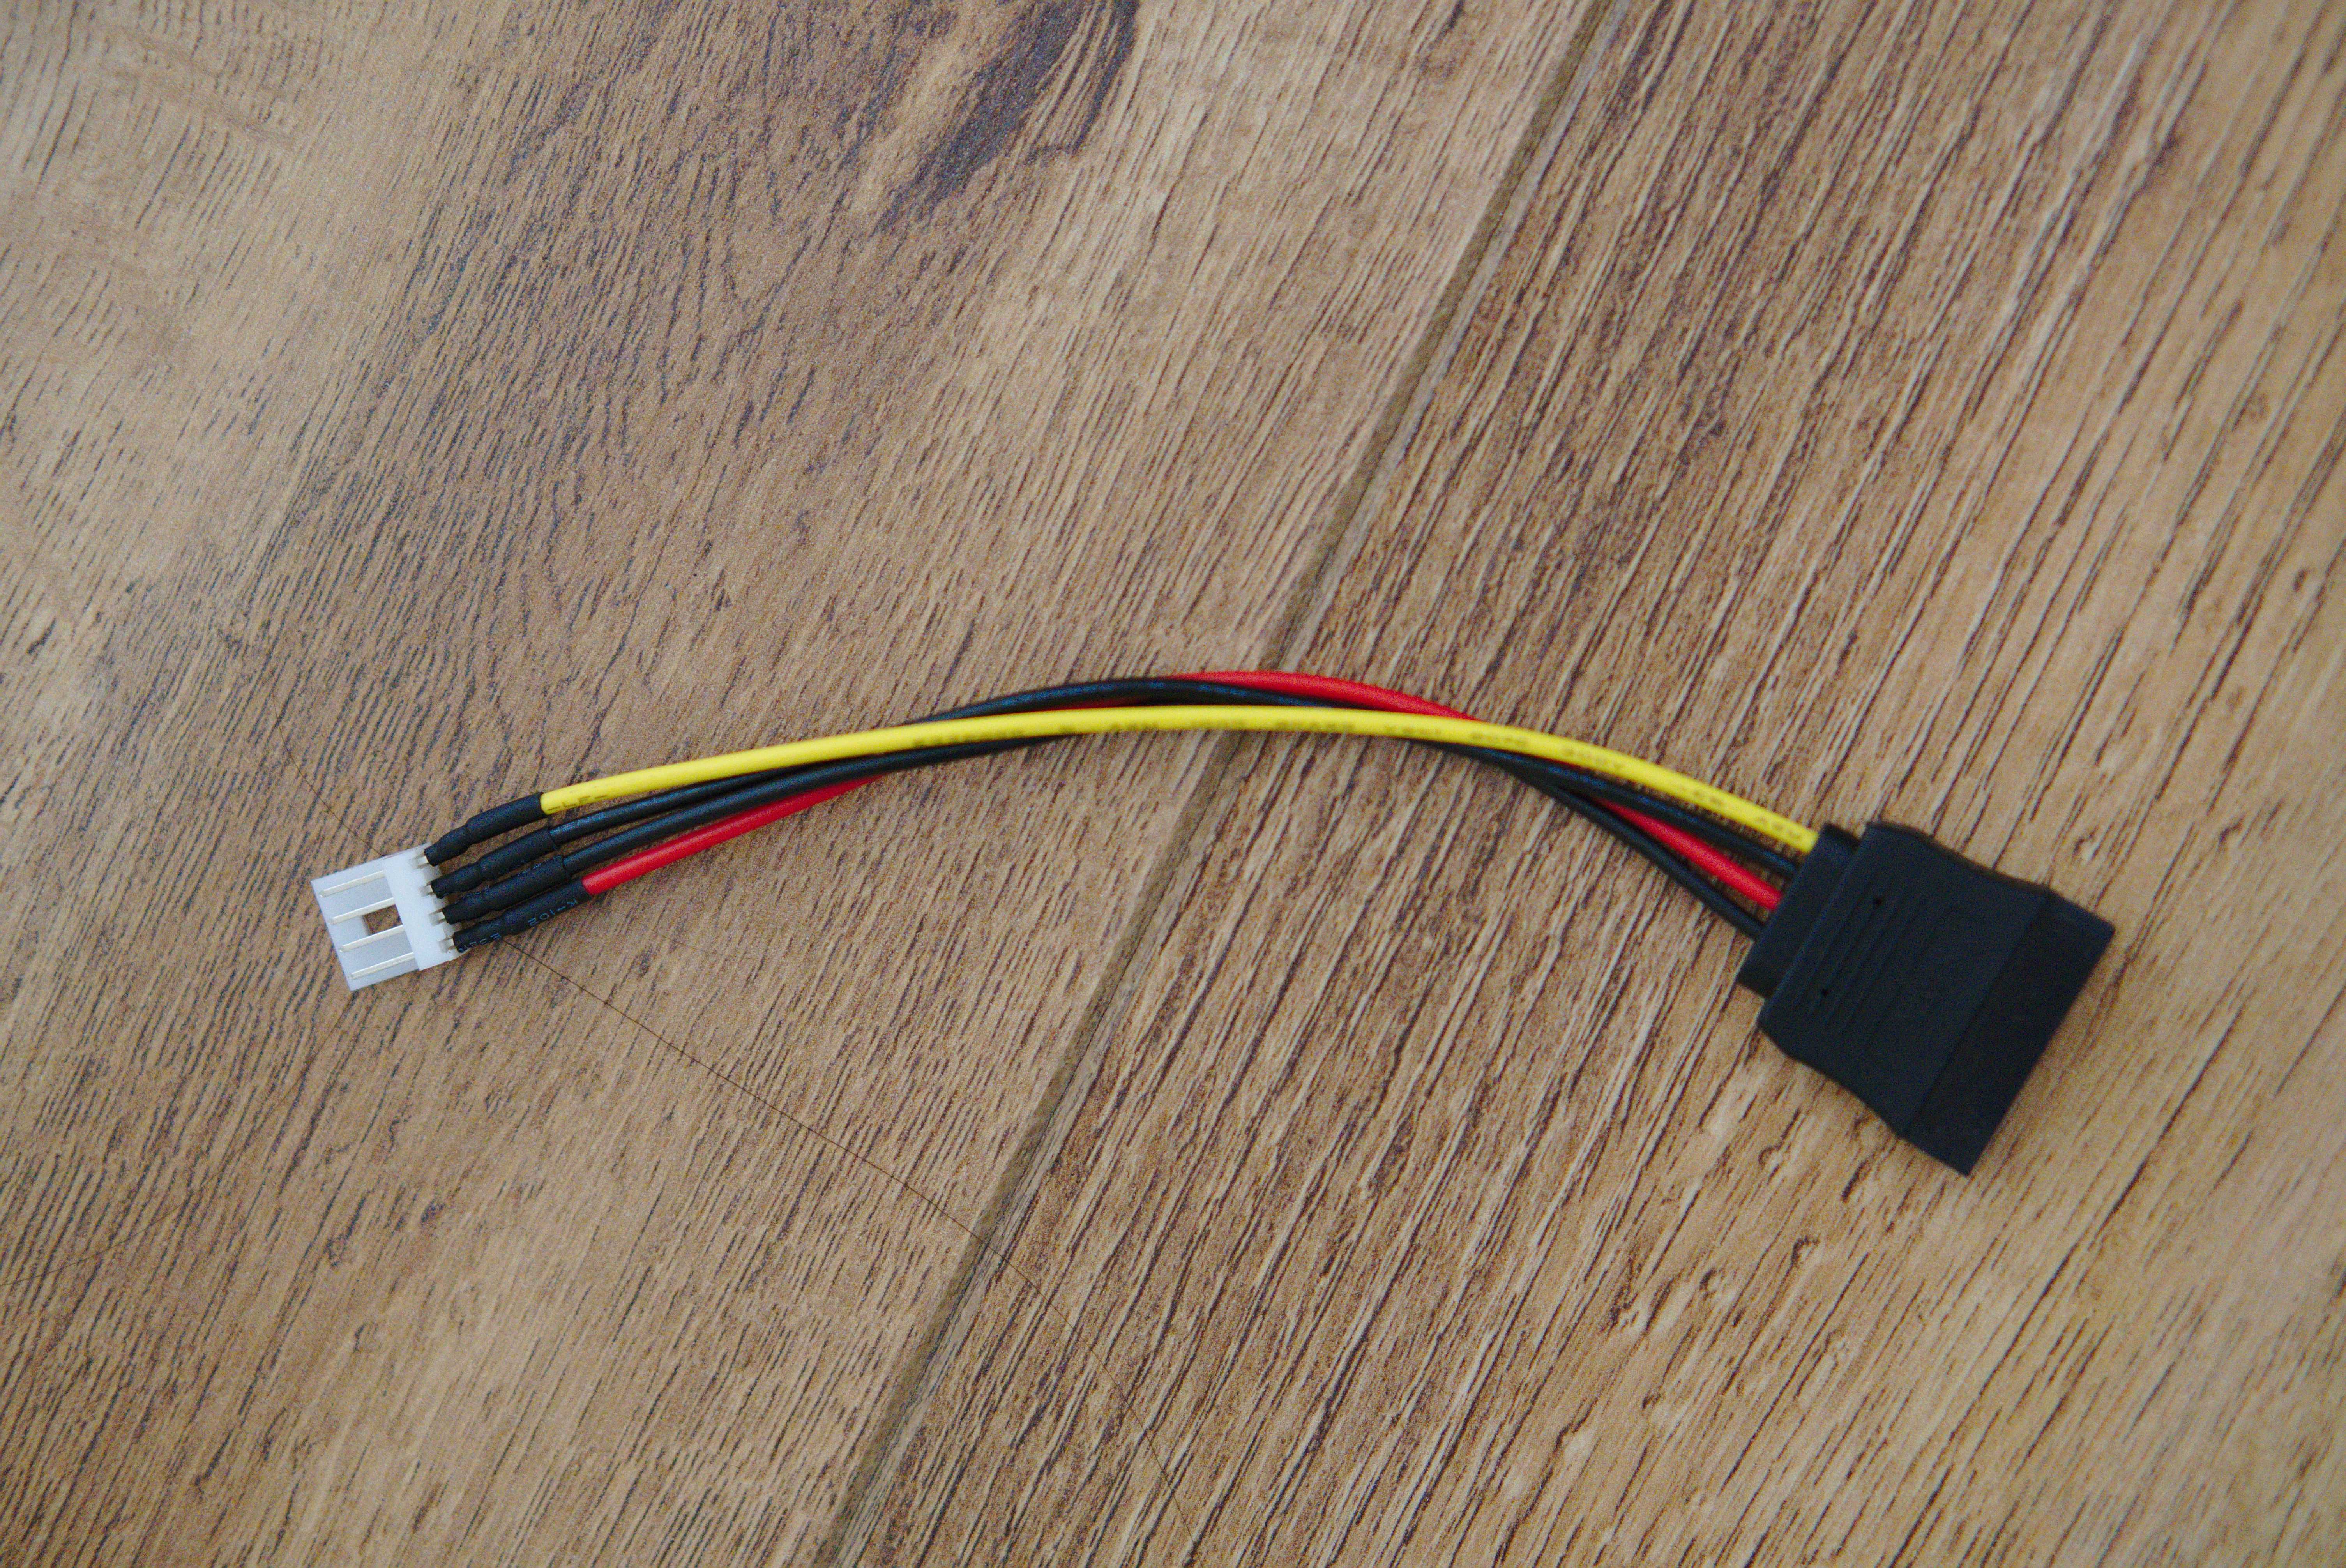
- One SATA 15 Pin Male to Floppy 4 power cable
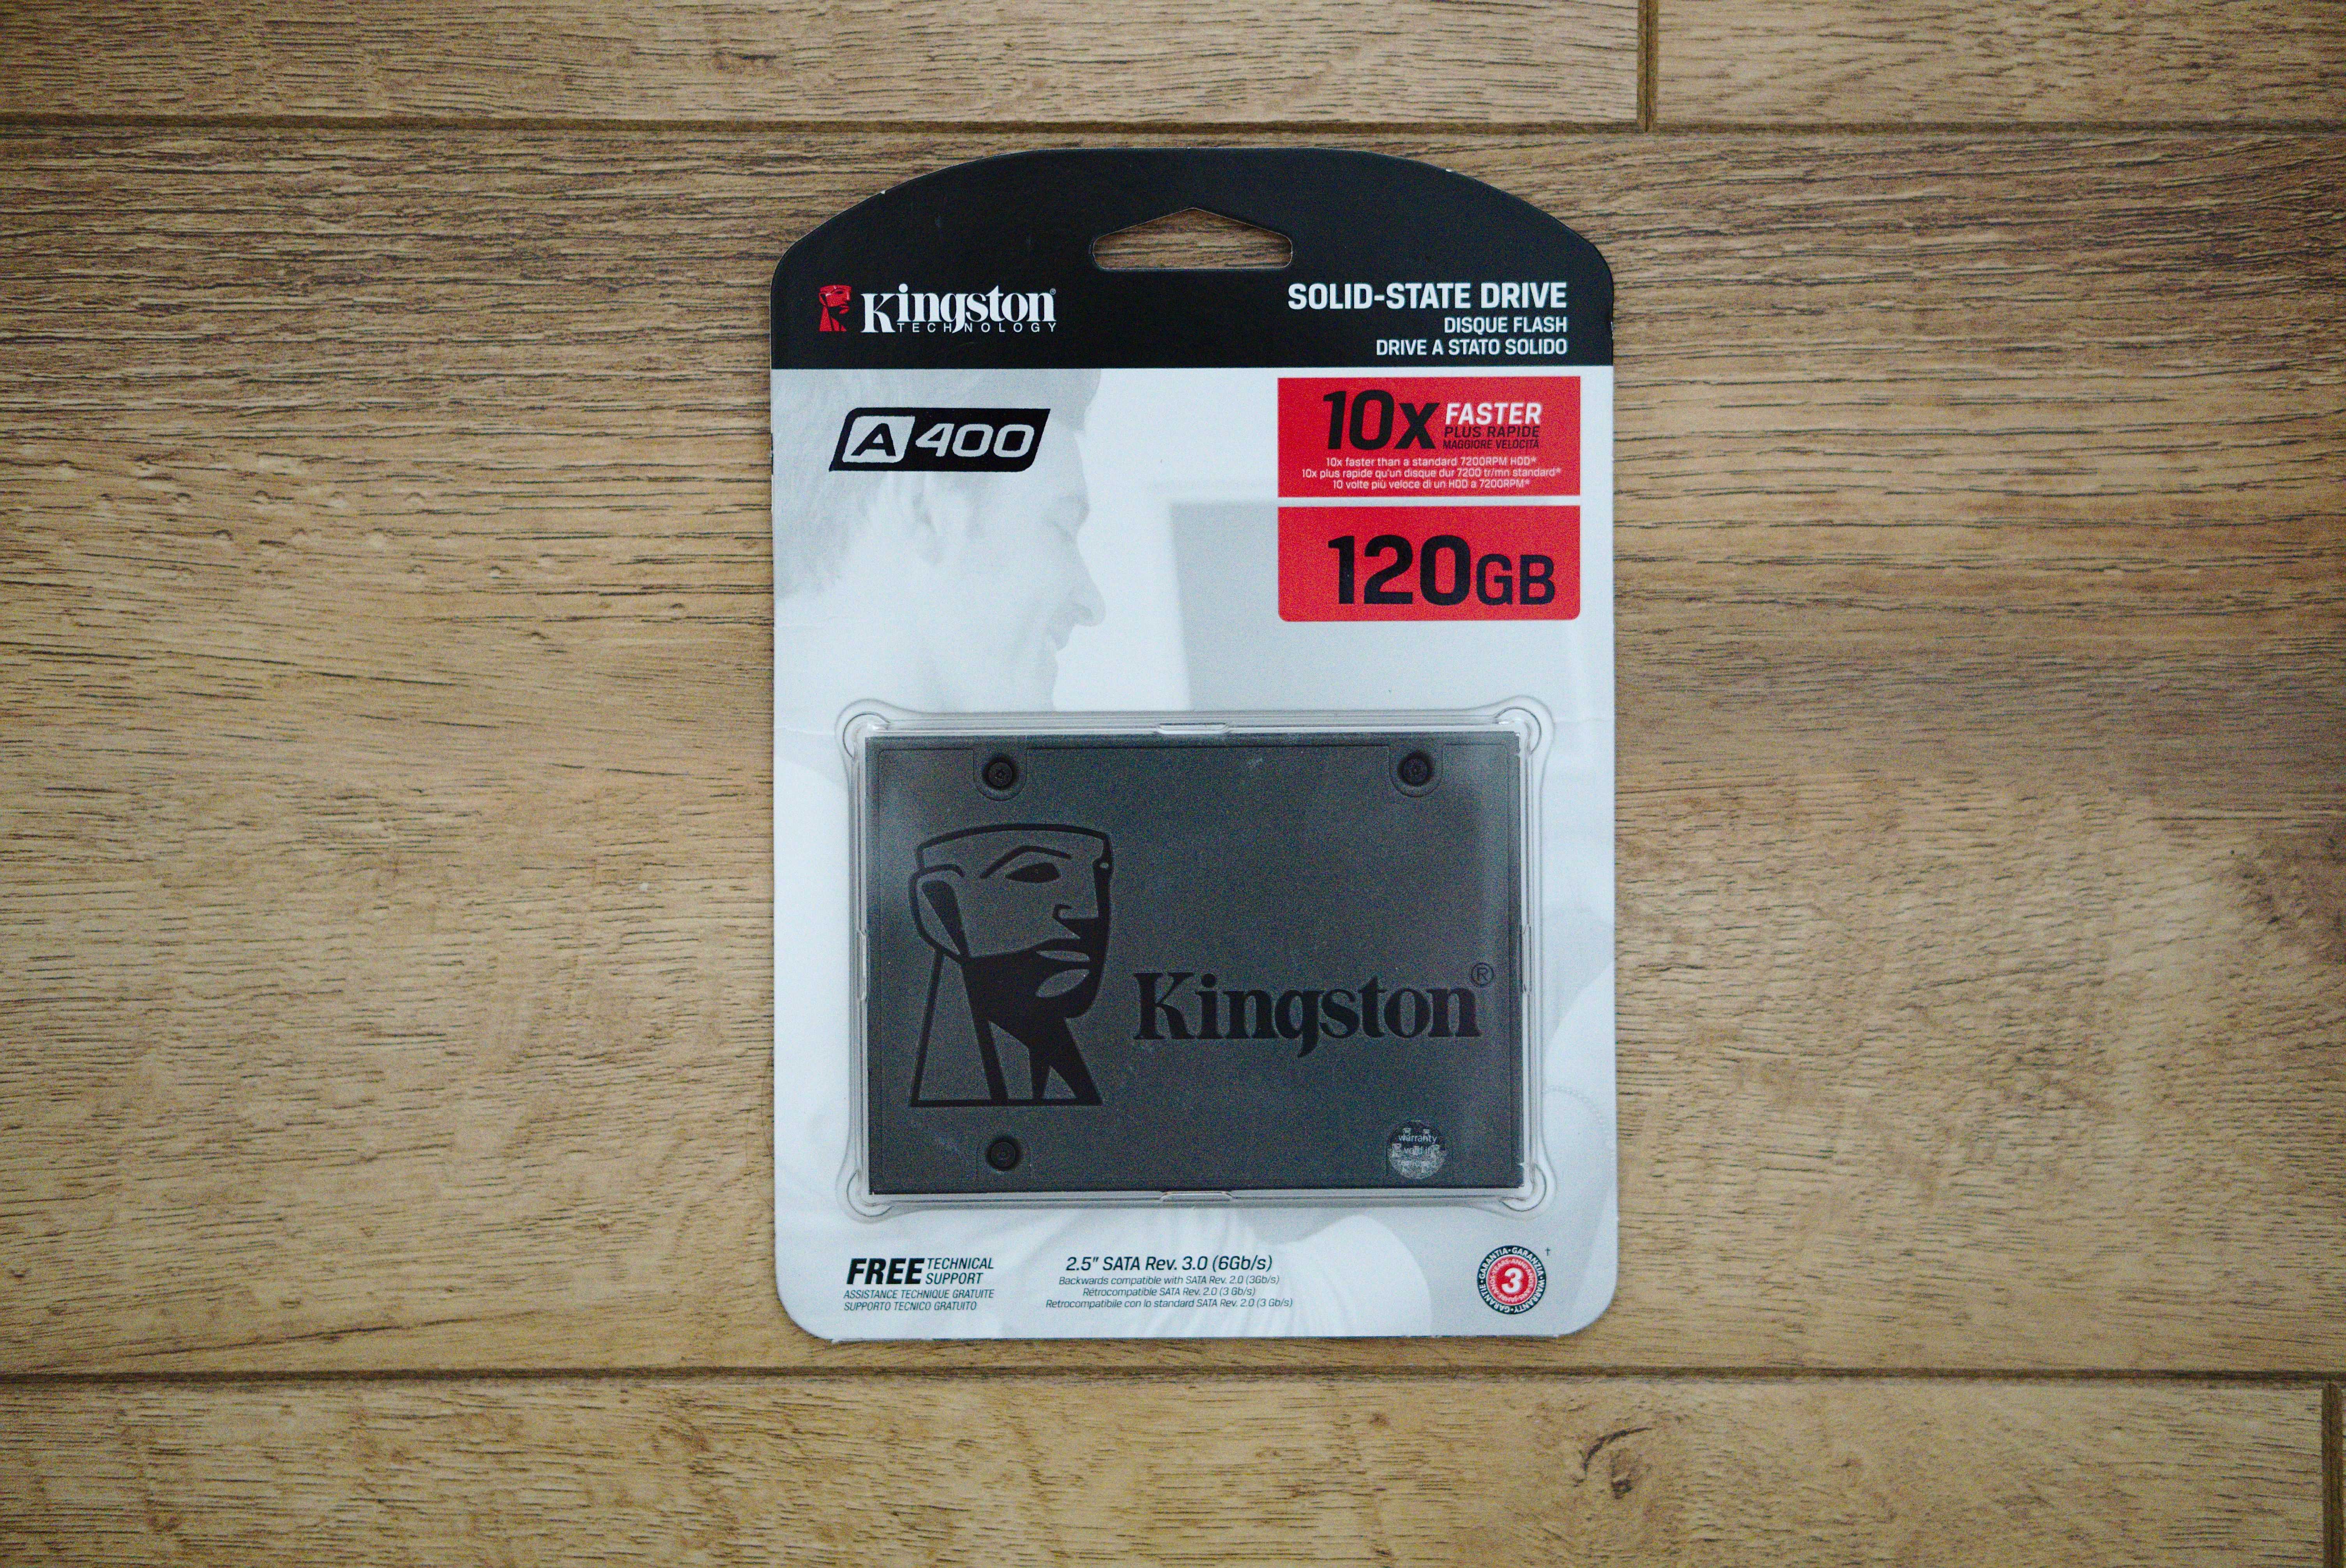
- One 2.5 Inch Solid State Drive
The procedure is pretty simple and definitely worth doing in my opinion
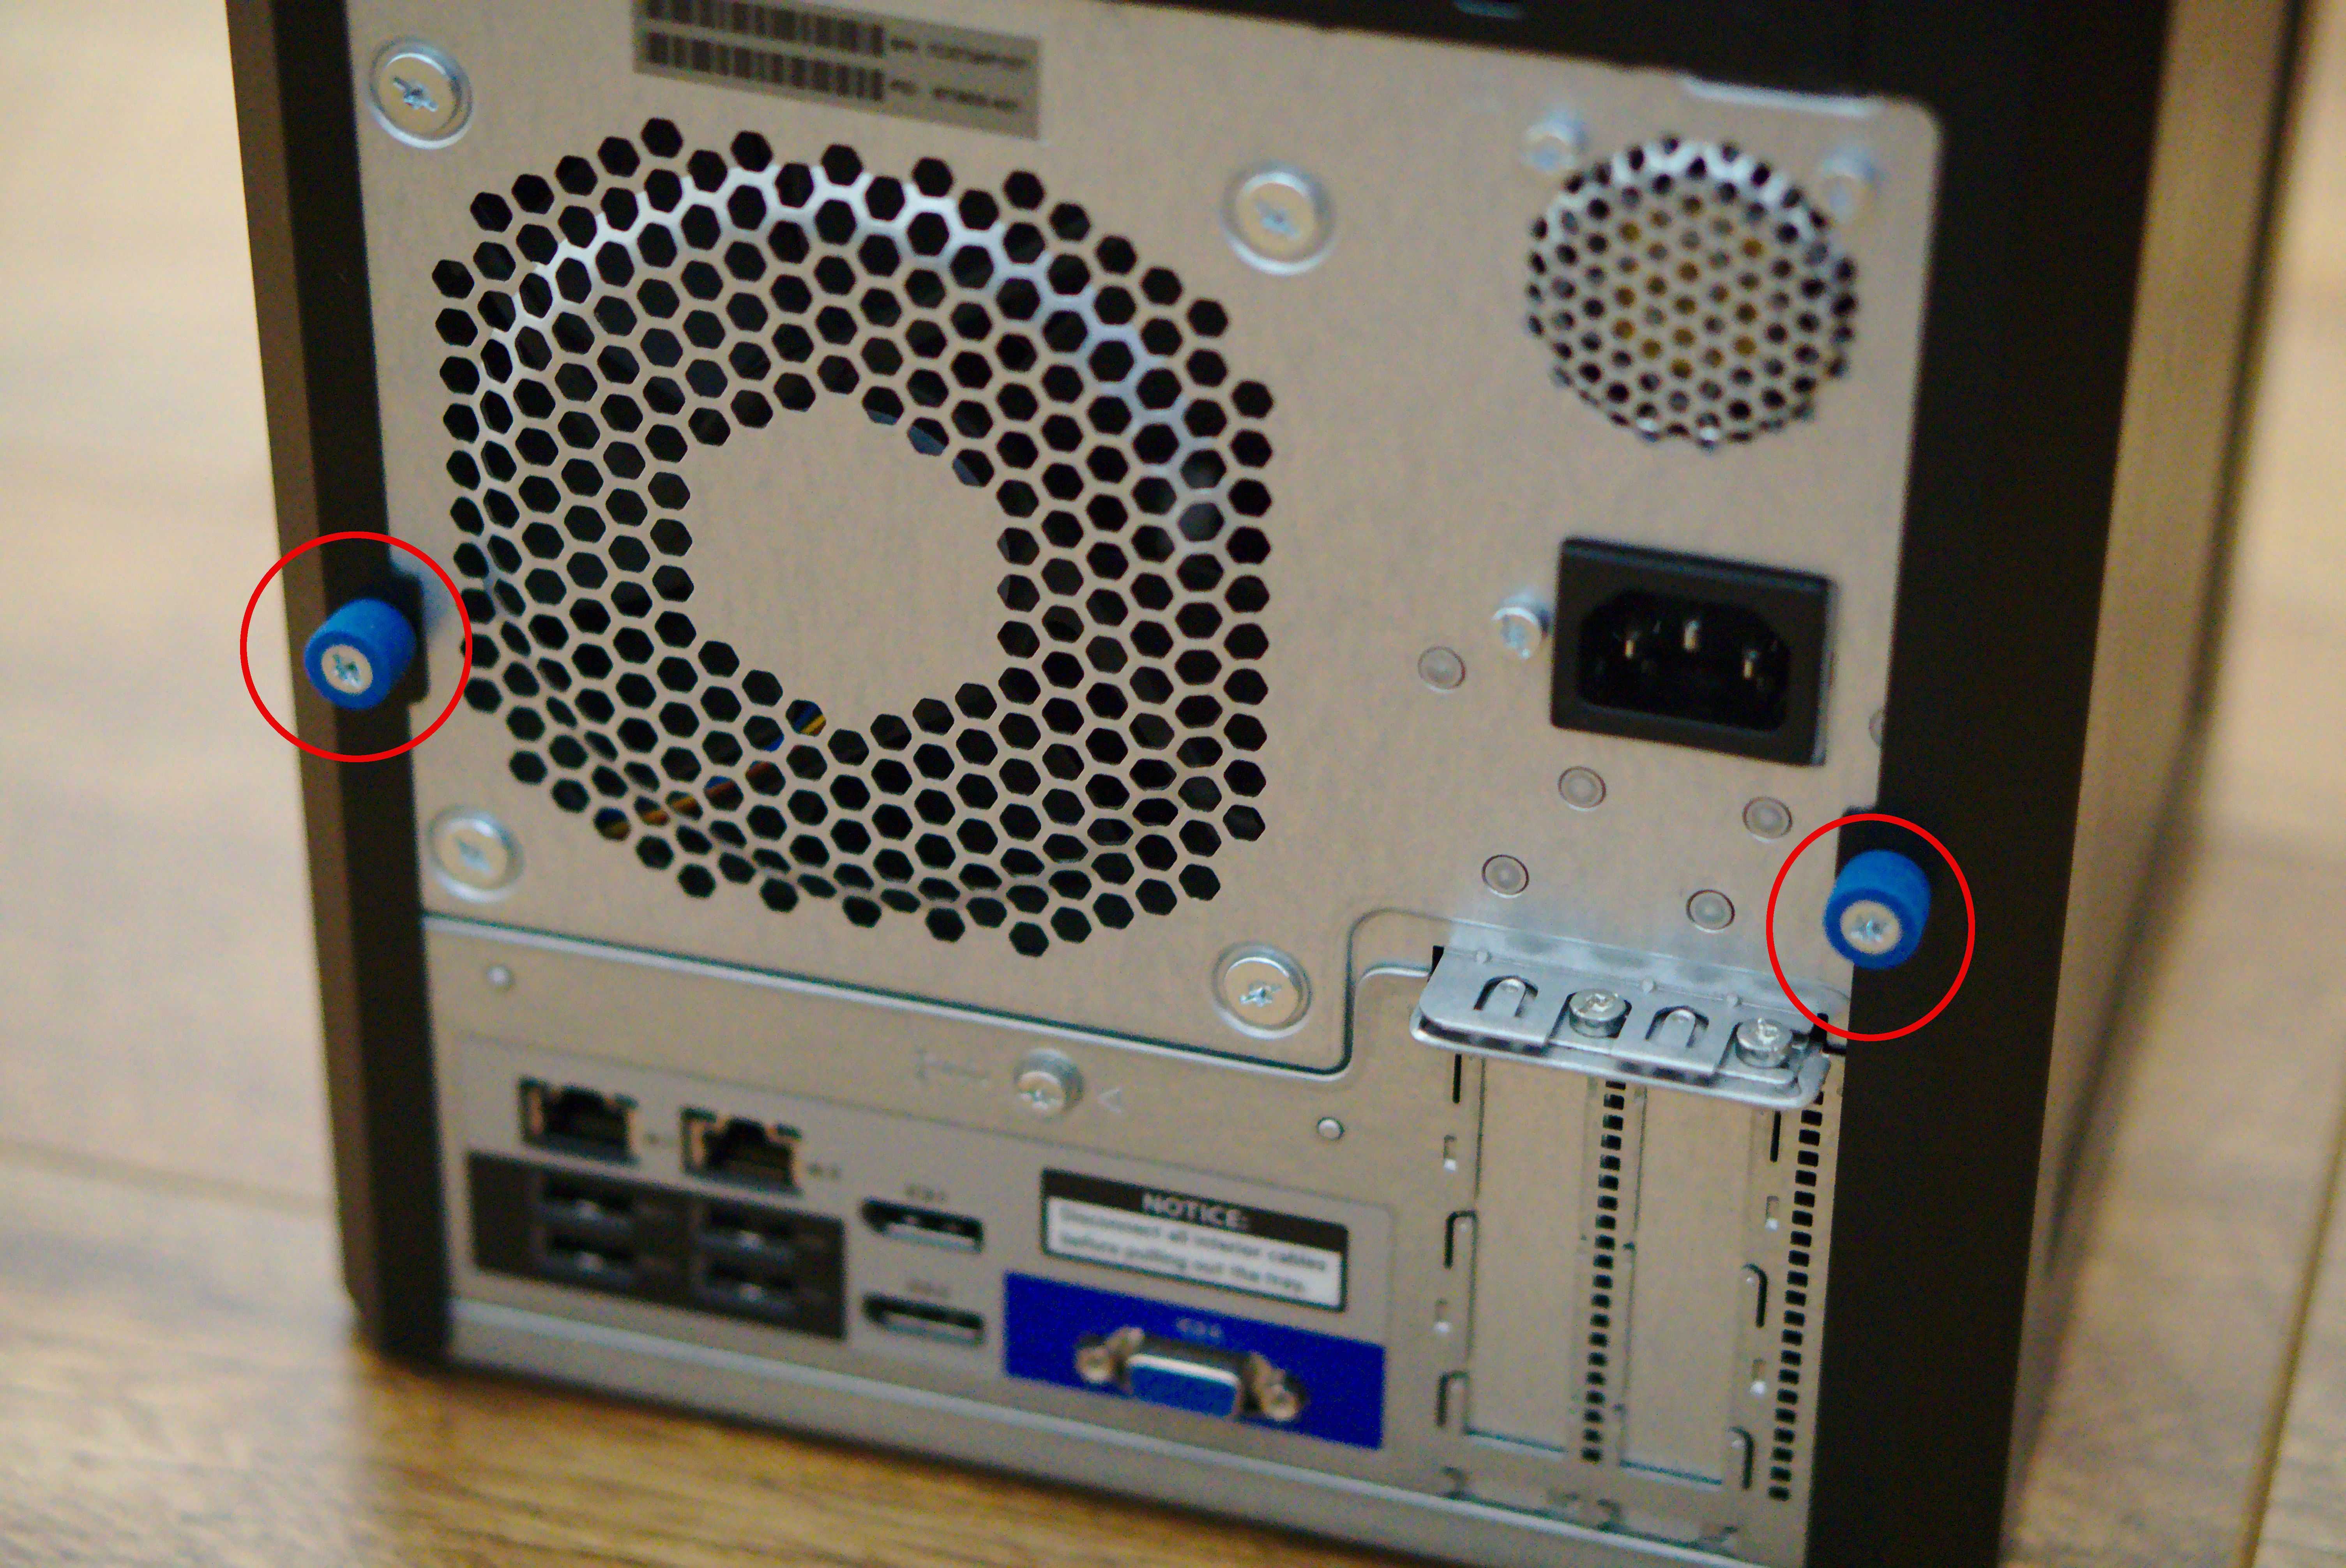
- Unscrew the thumbscrews on the back of the MicroServer and remove the chassis cover to reveal the bay for the optical drive
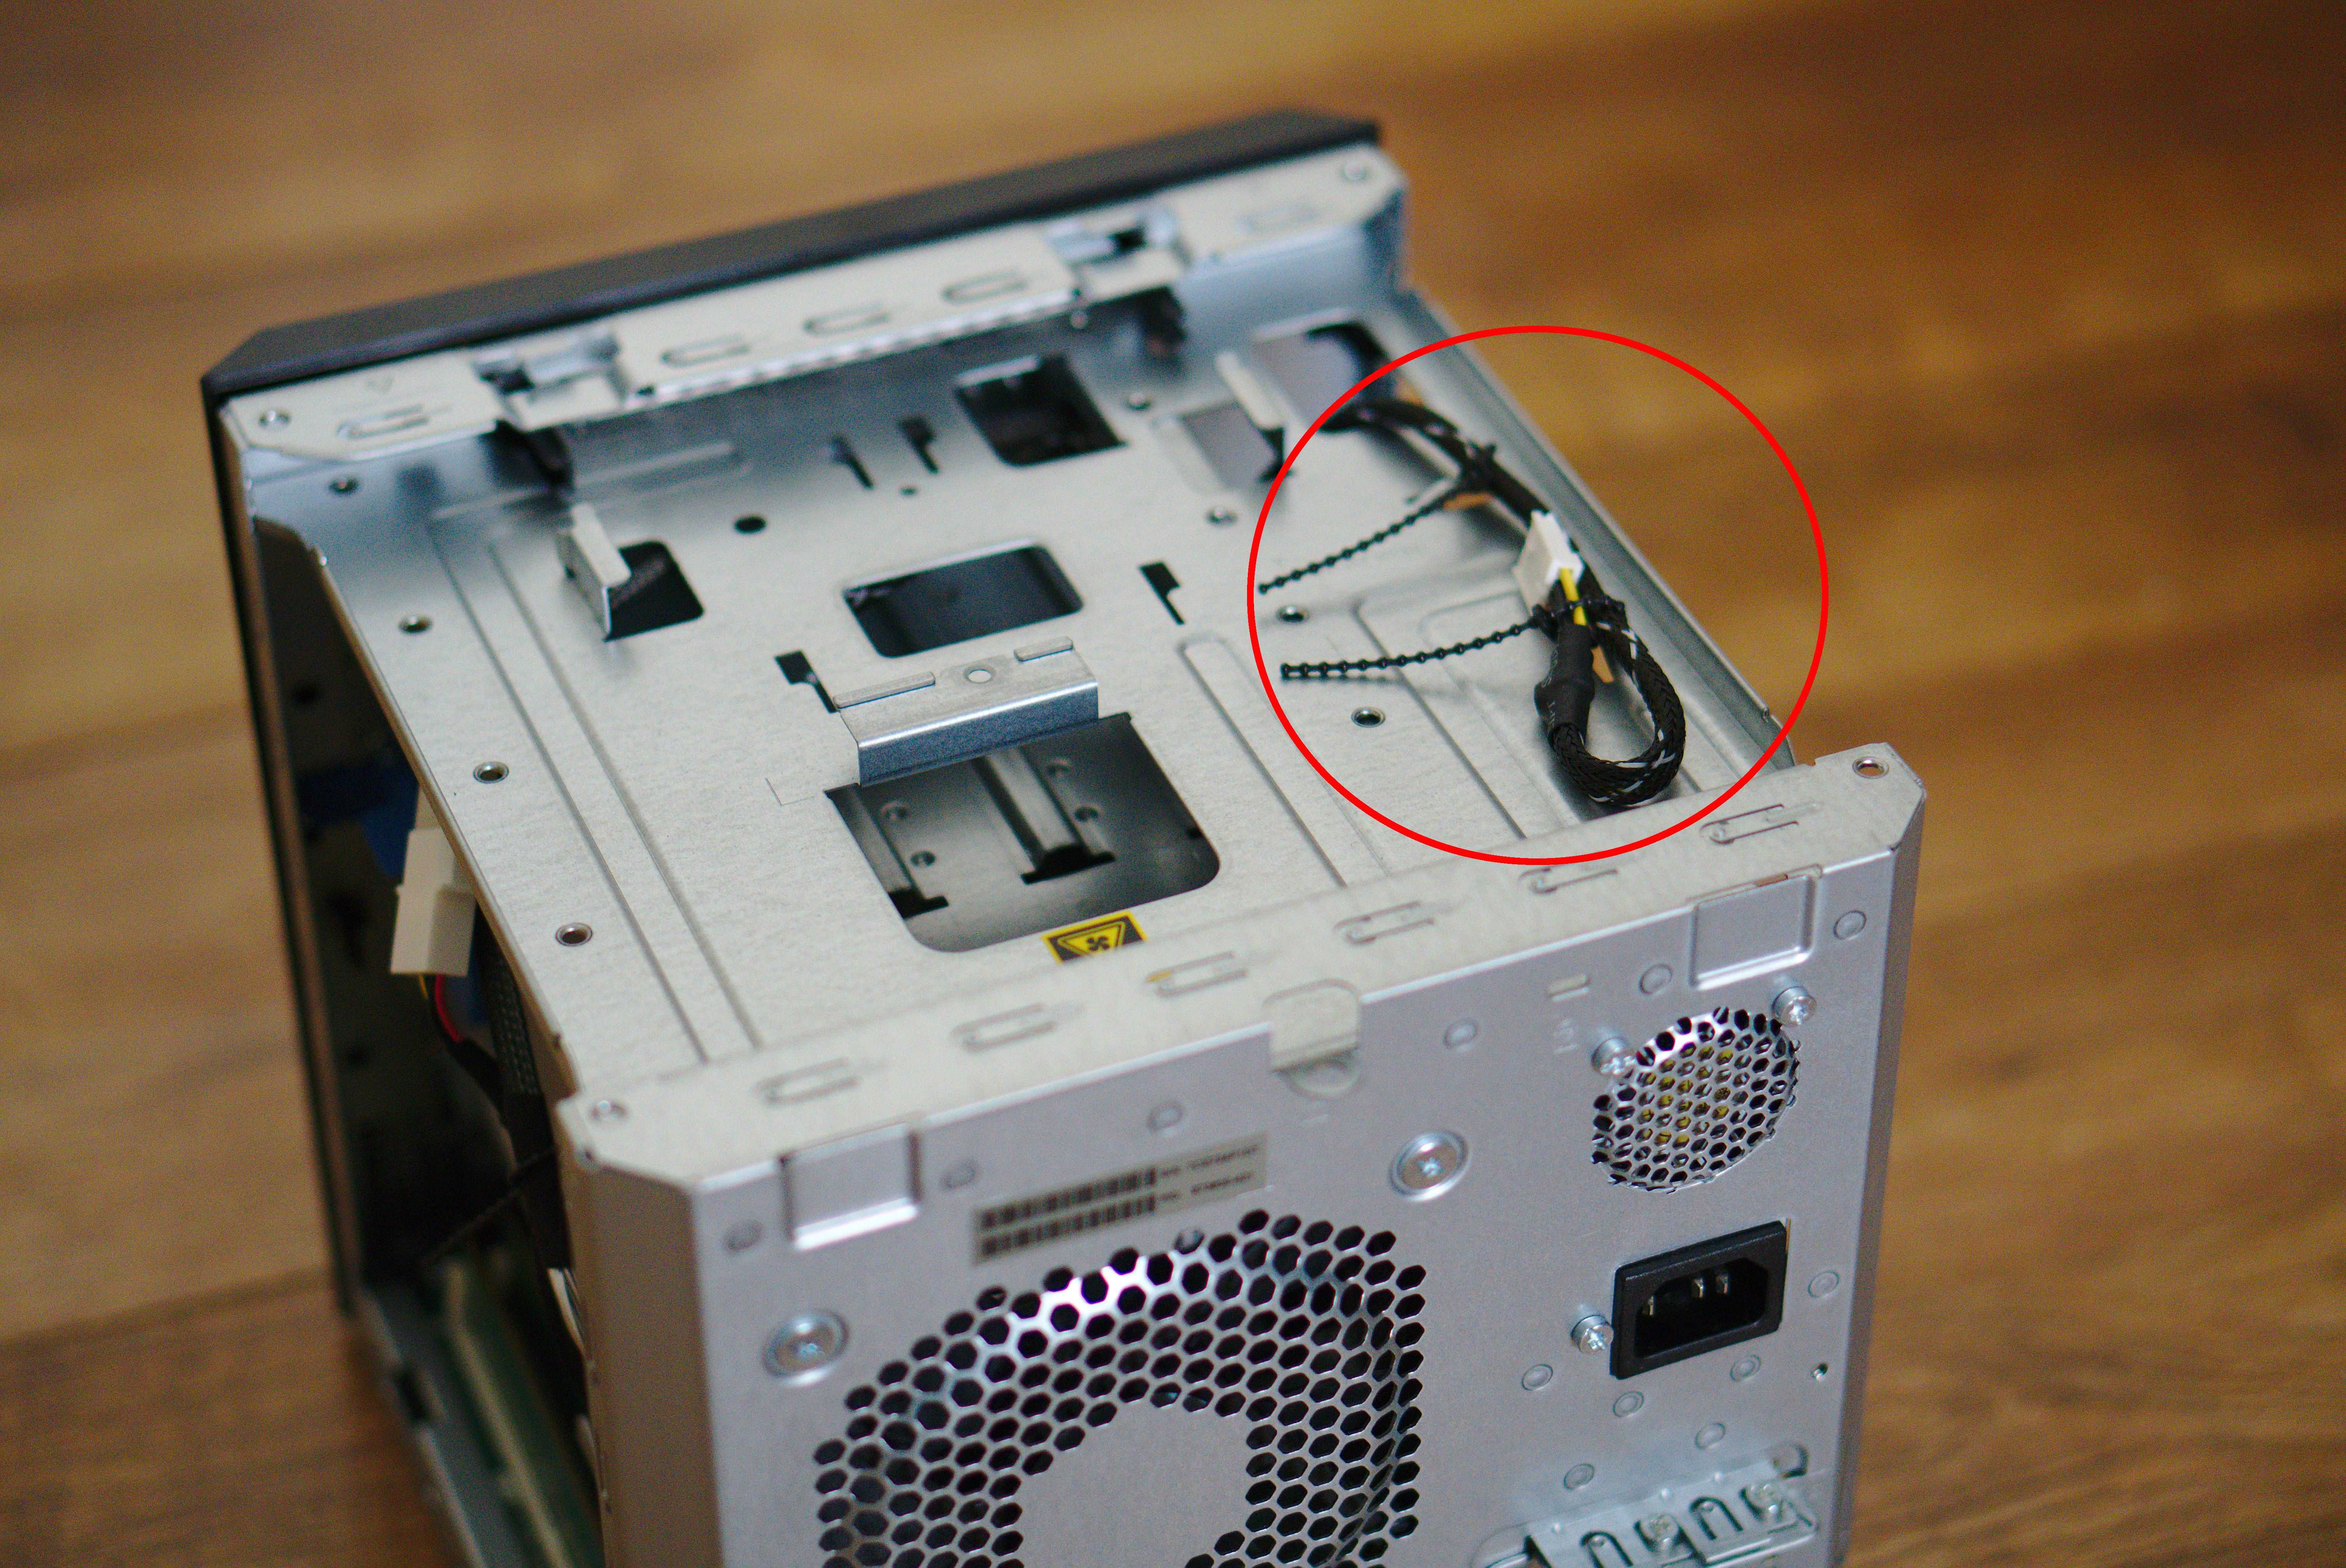
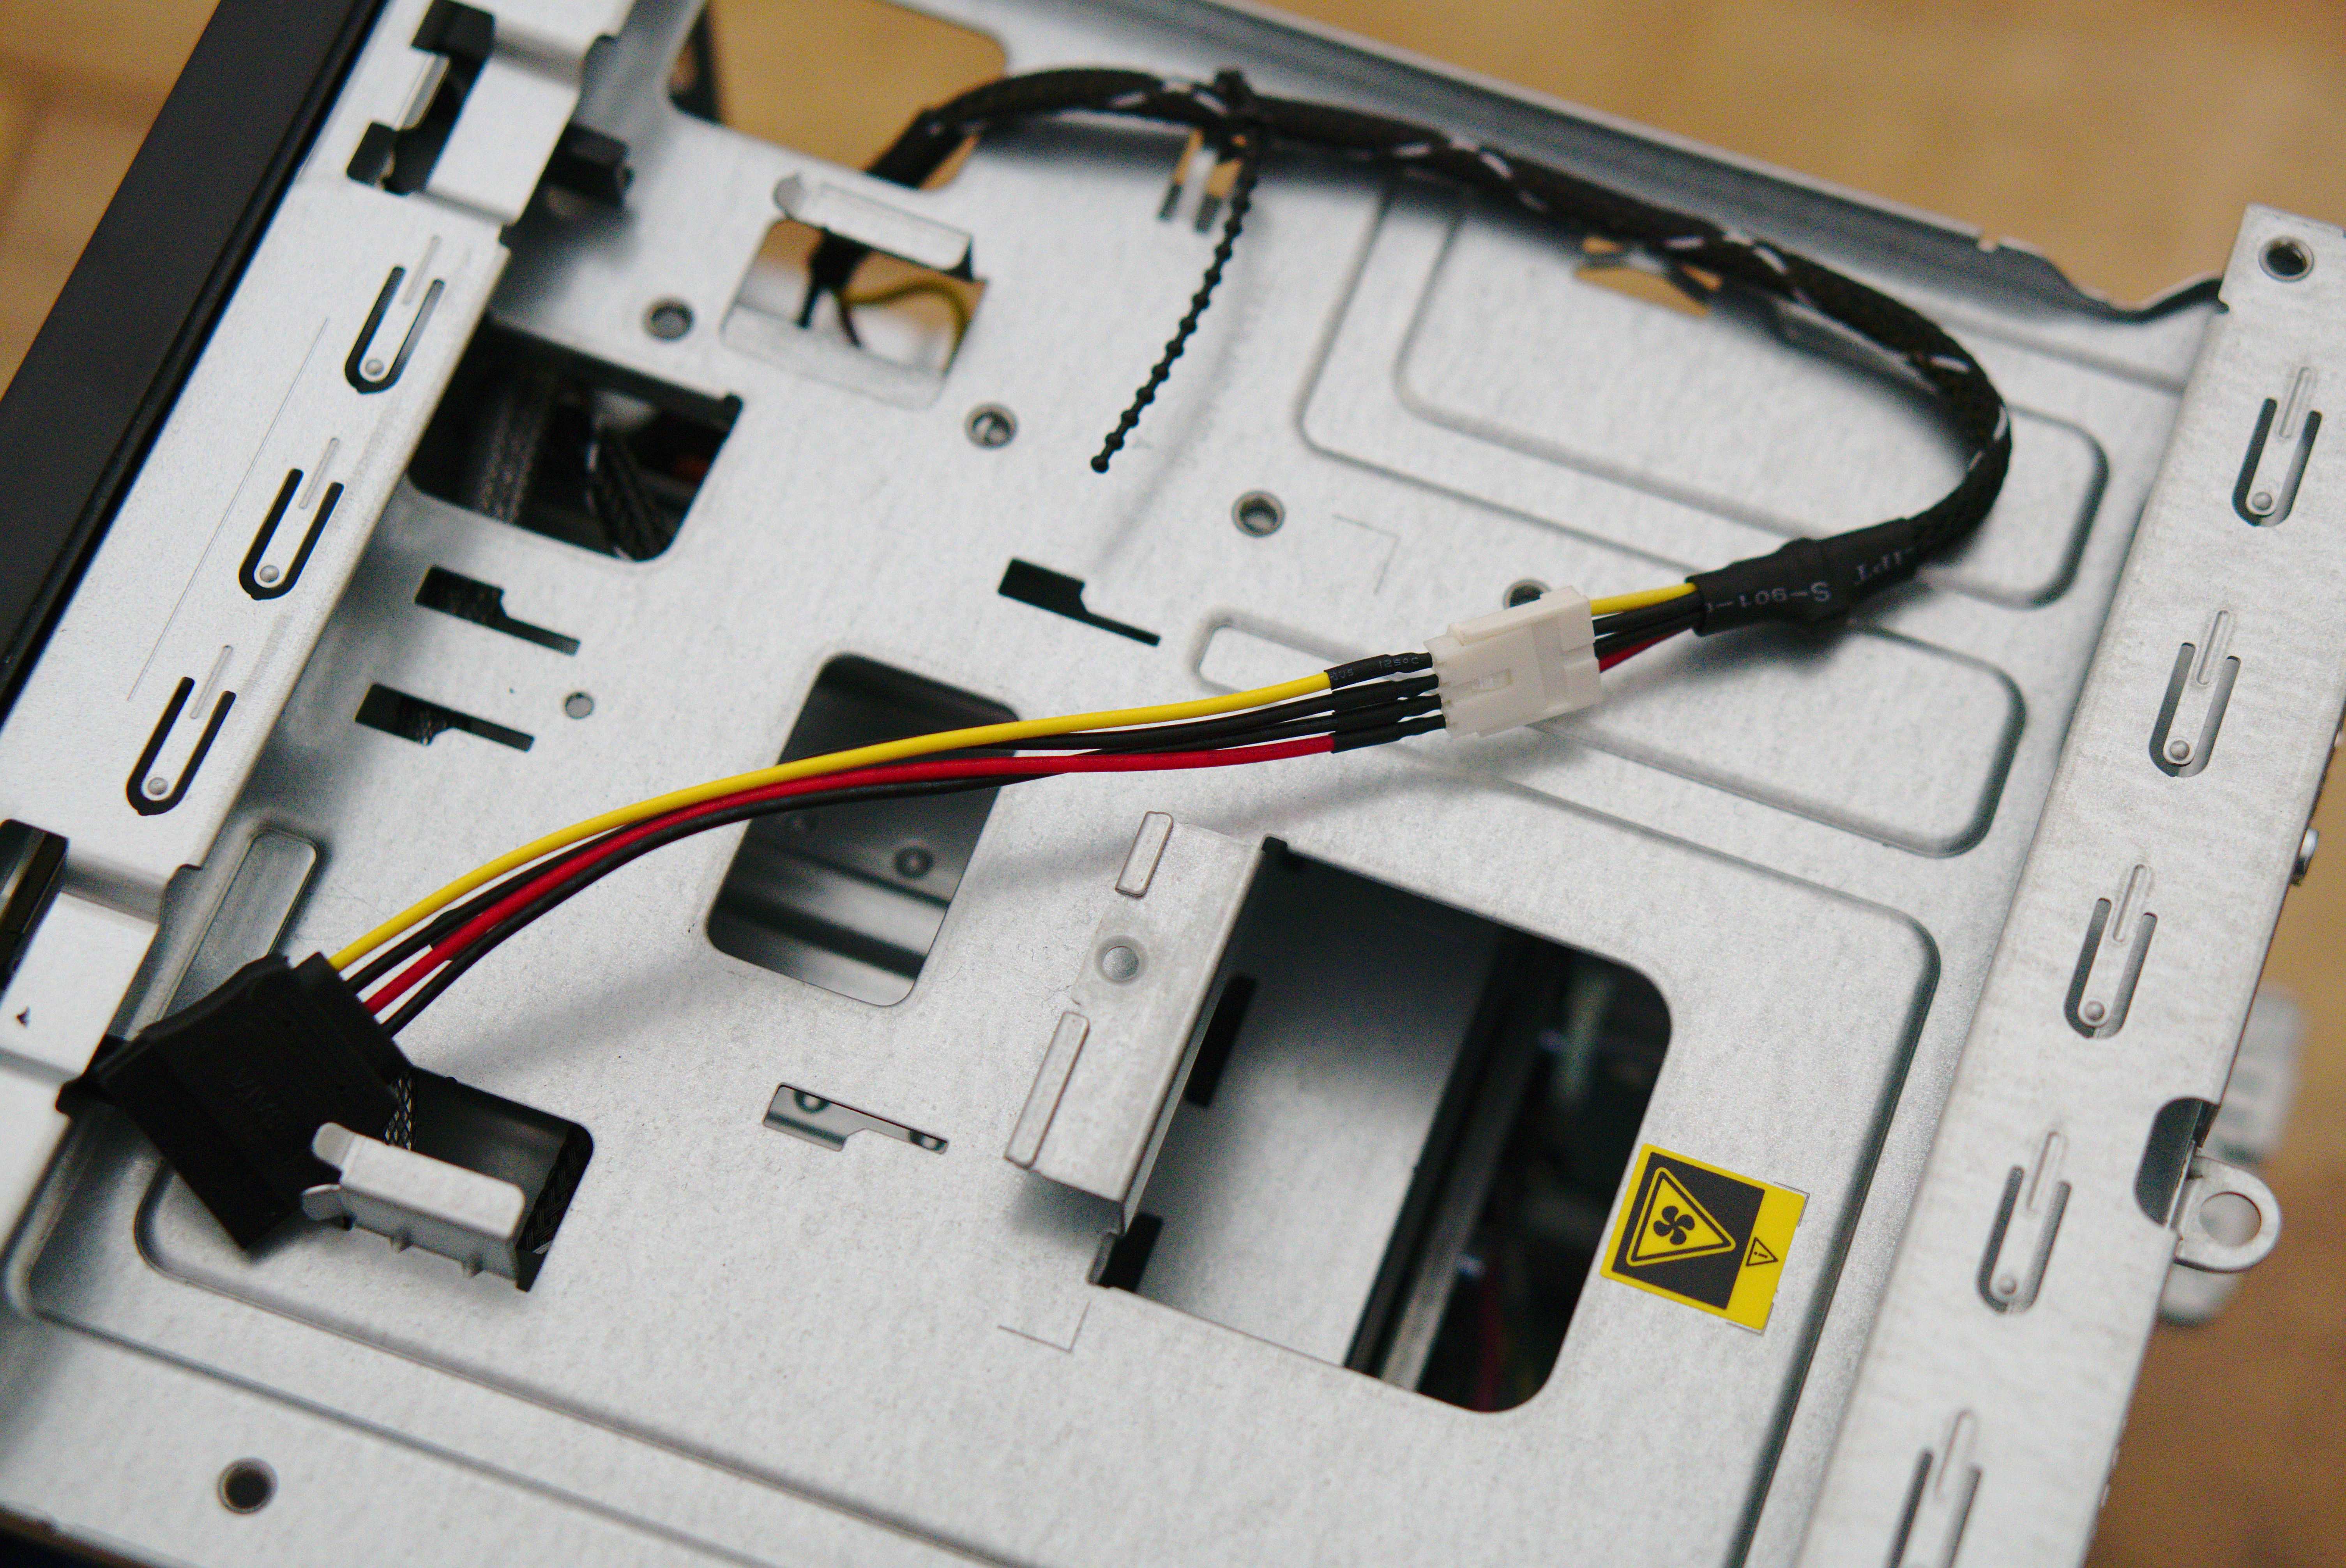
- Remove the cable ties from the floppy power cable and connect the SATA power cable adaptor.
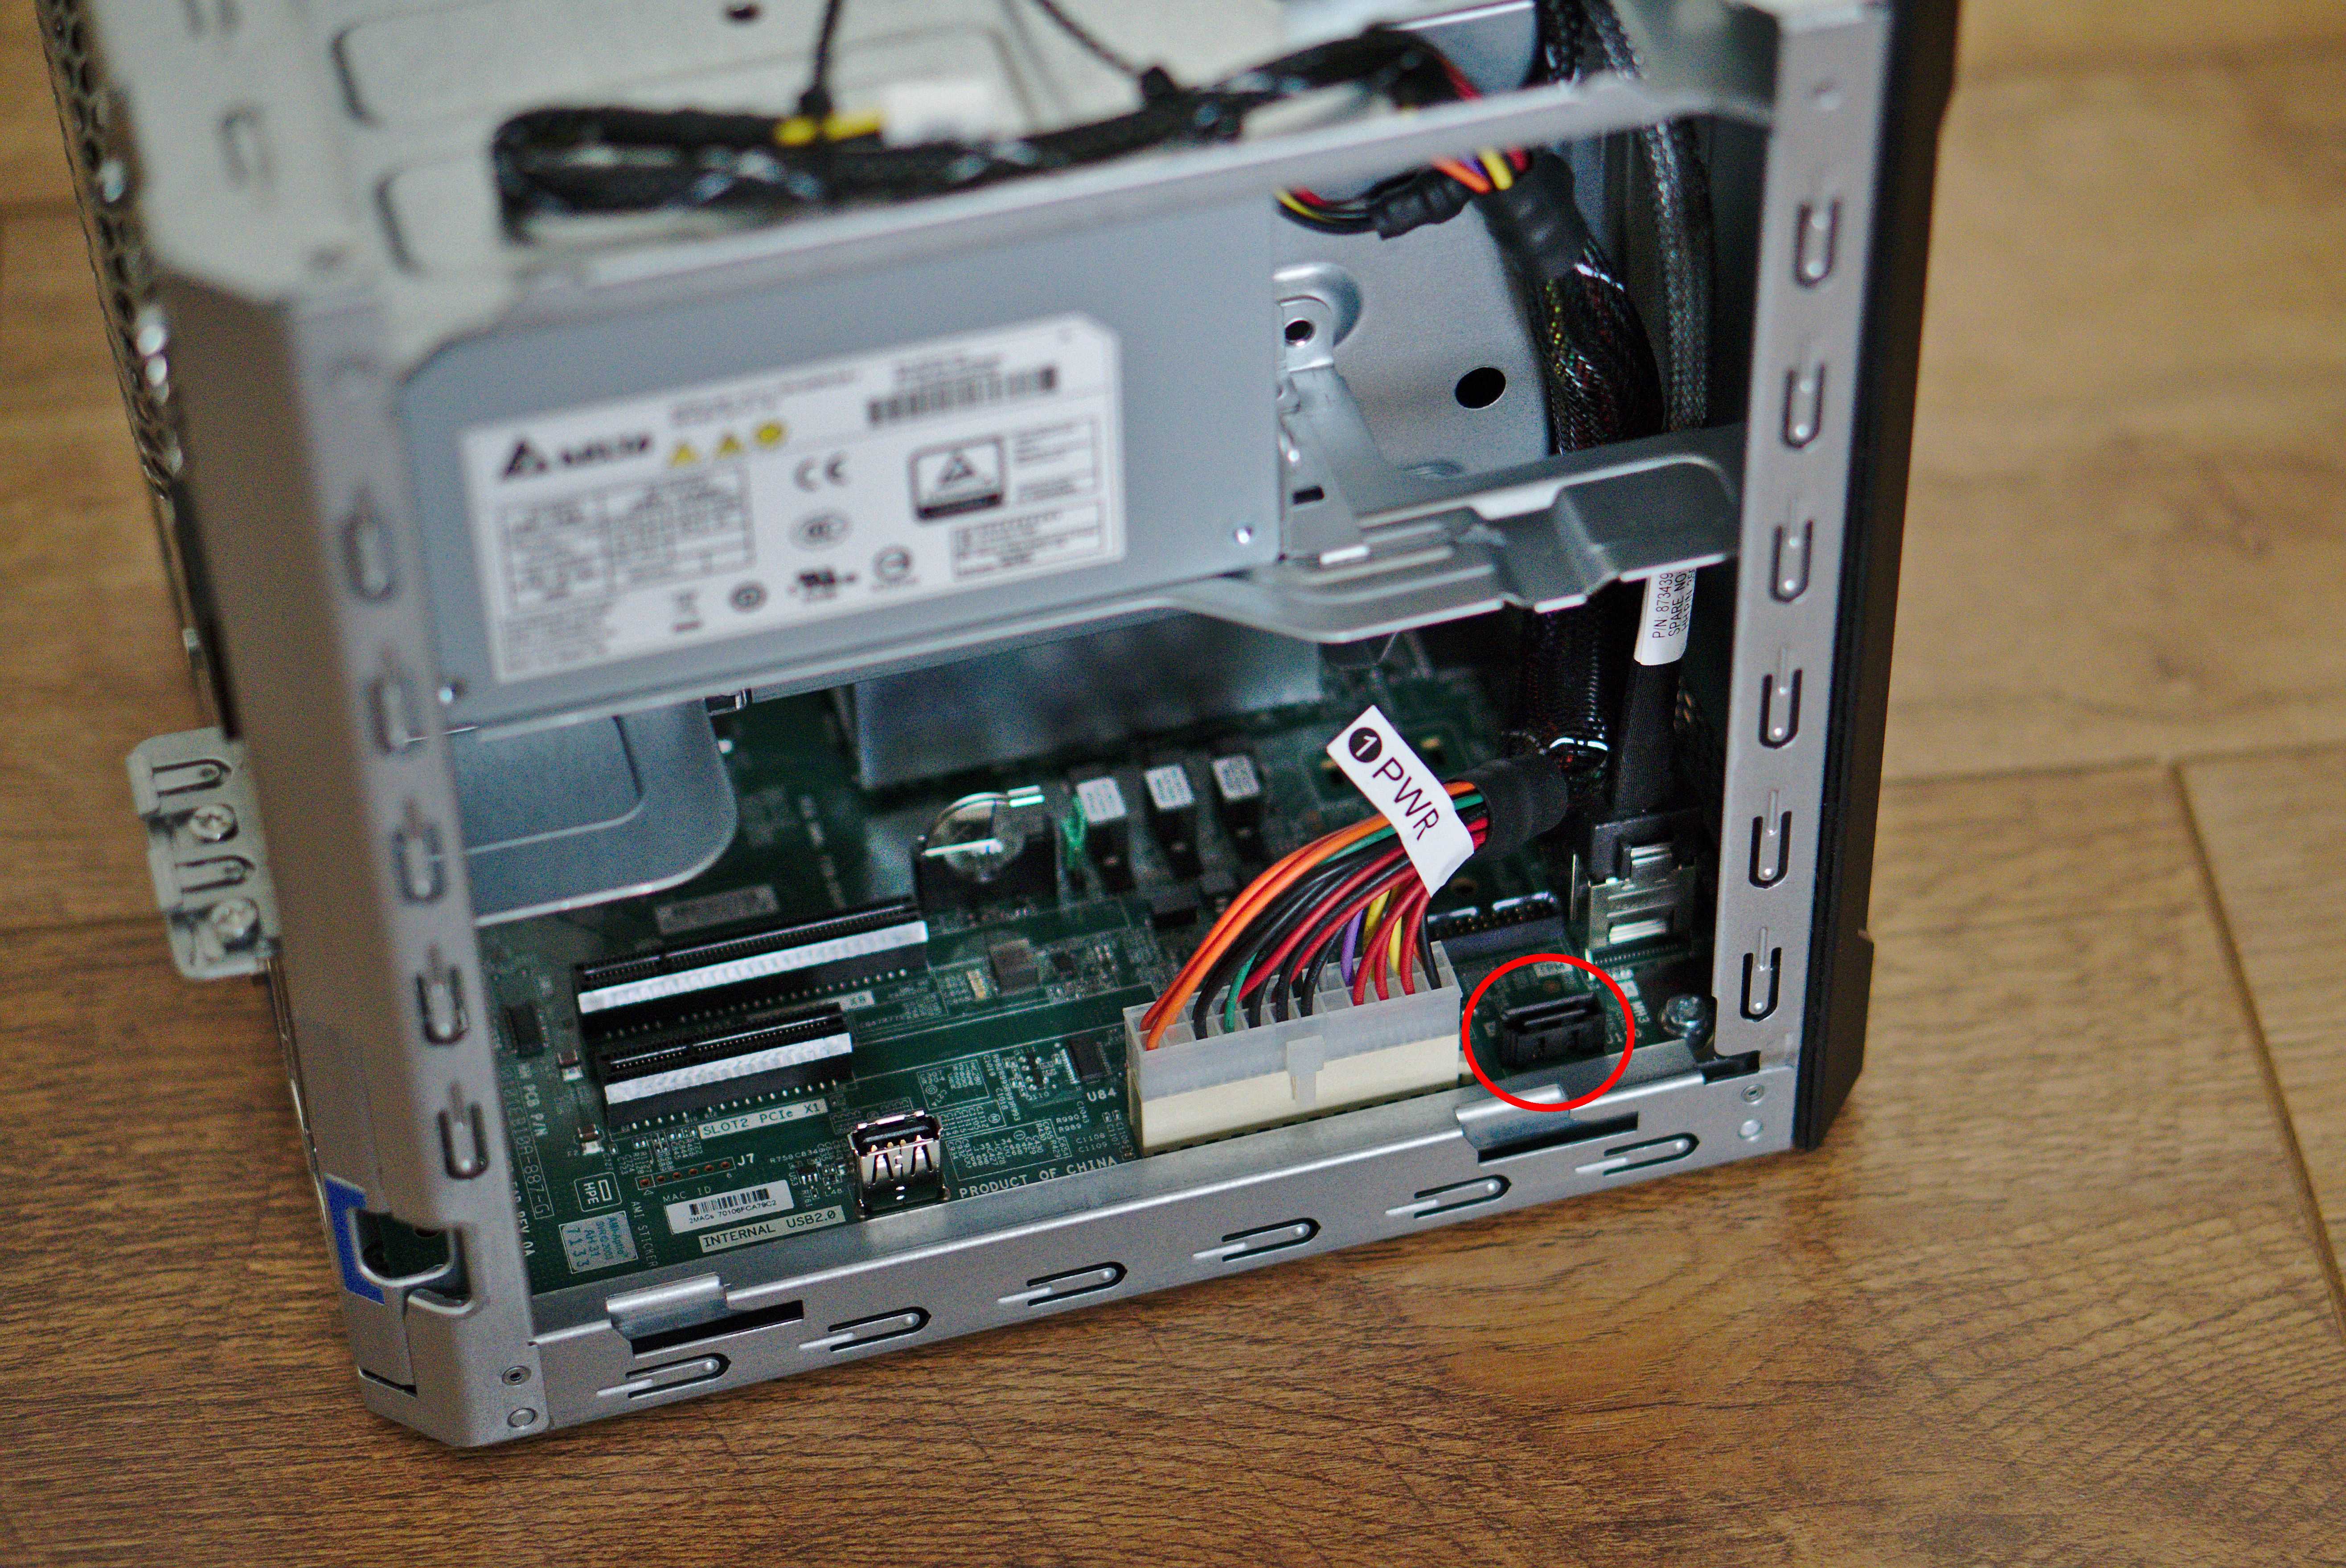
- Connect the SATA data cable to the onboard SATA connector which is located on the left hand side. Thread the SATA data cable up to the optical drive bay.
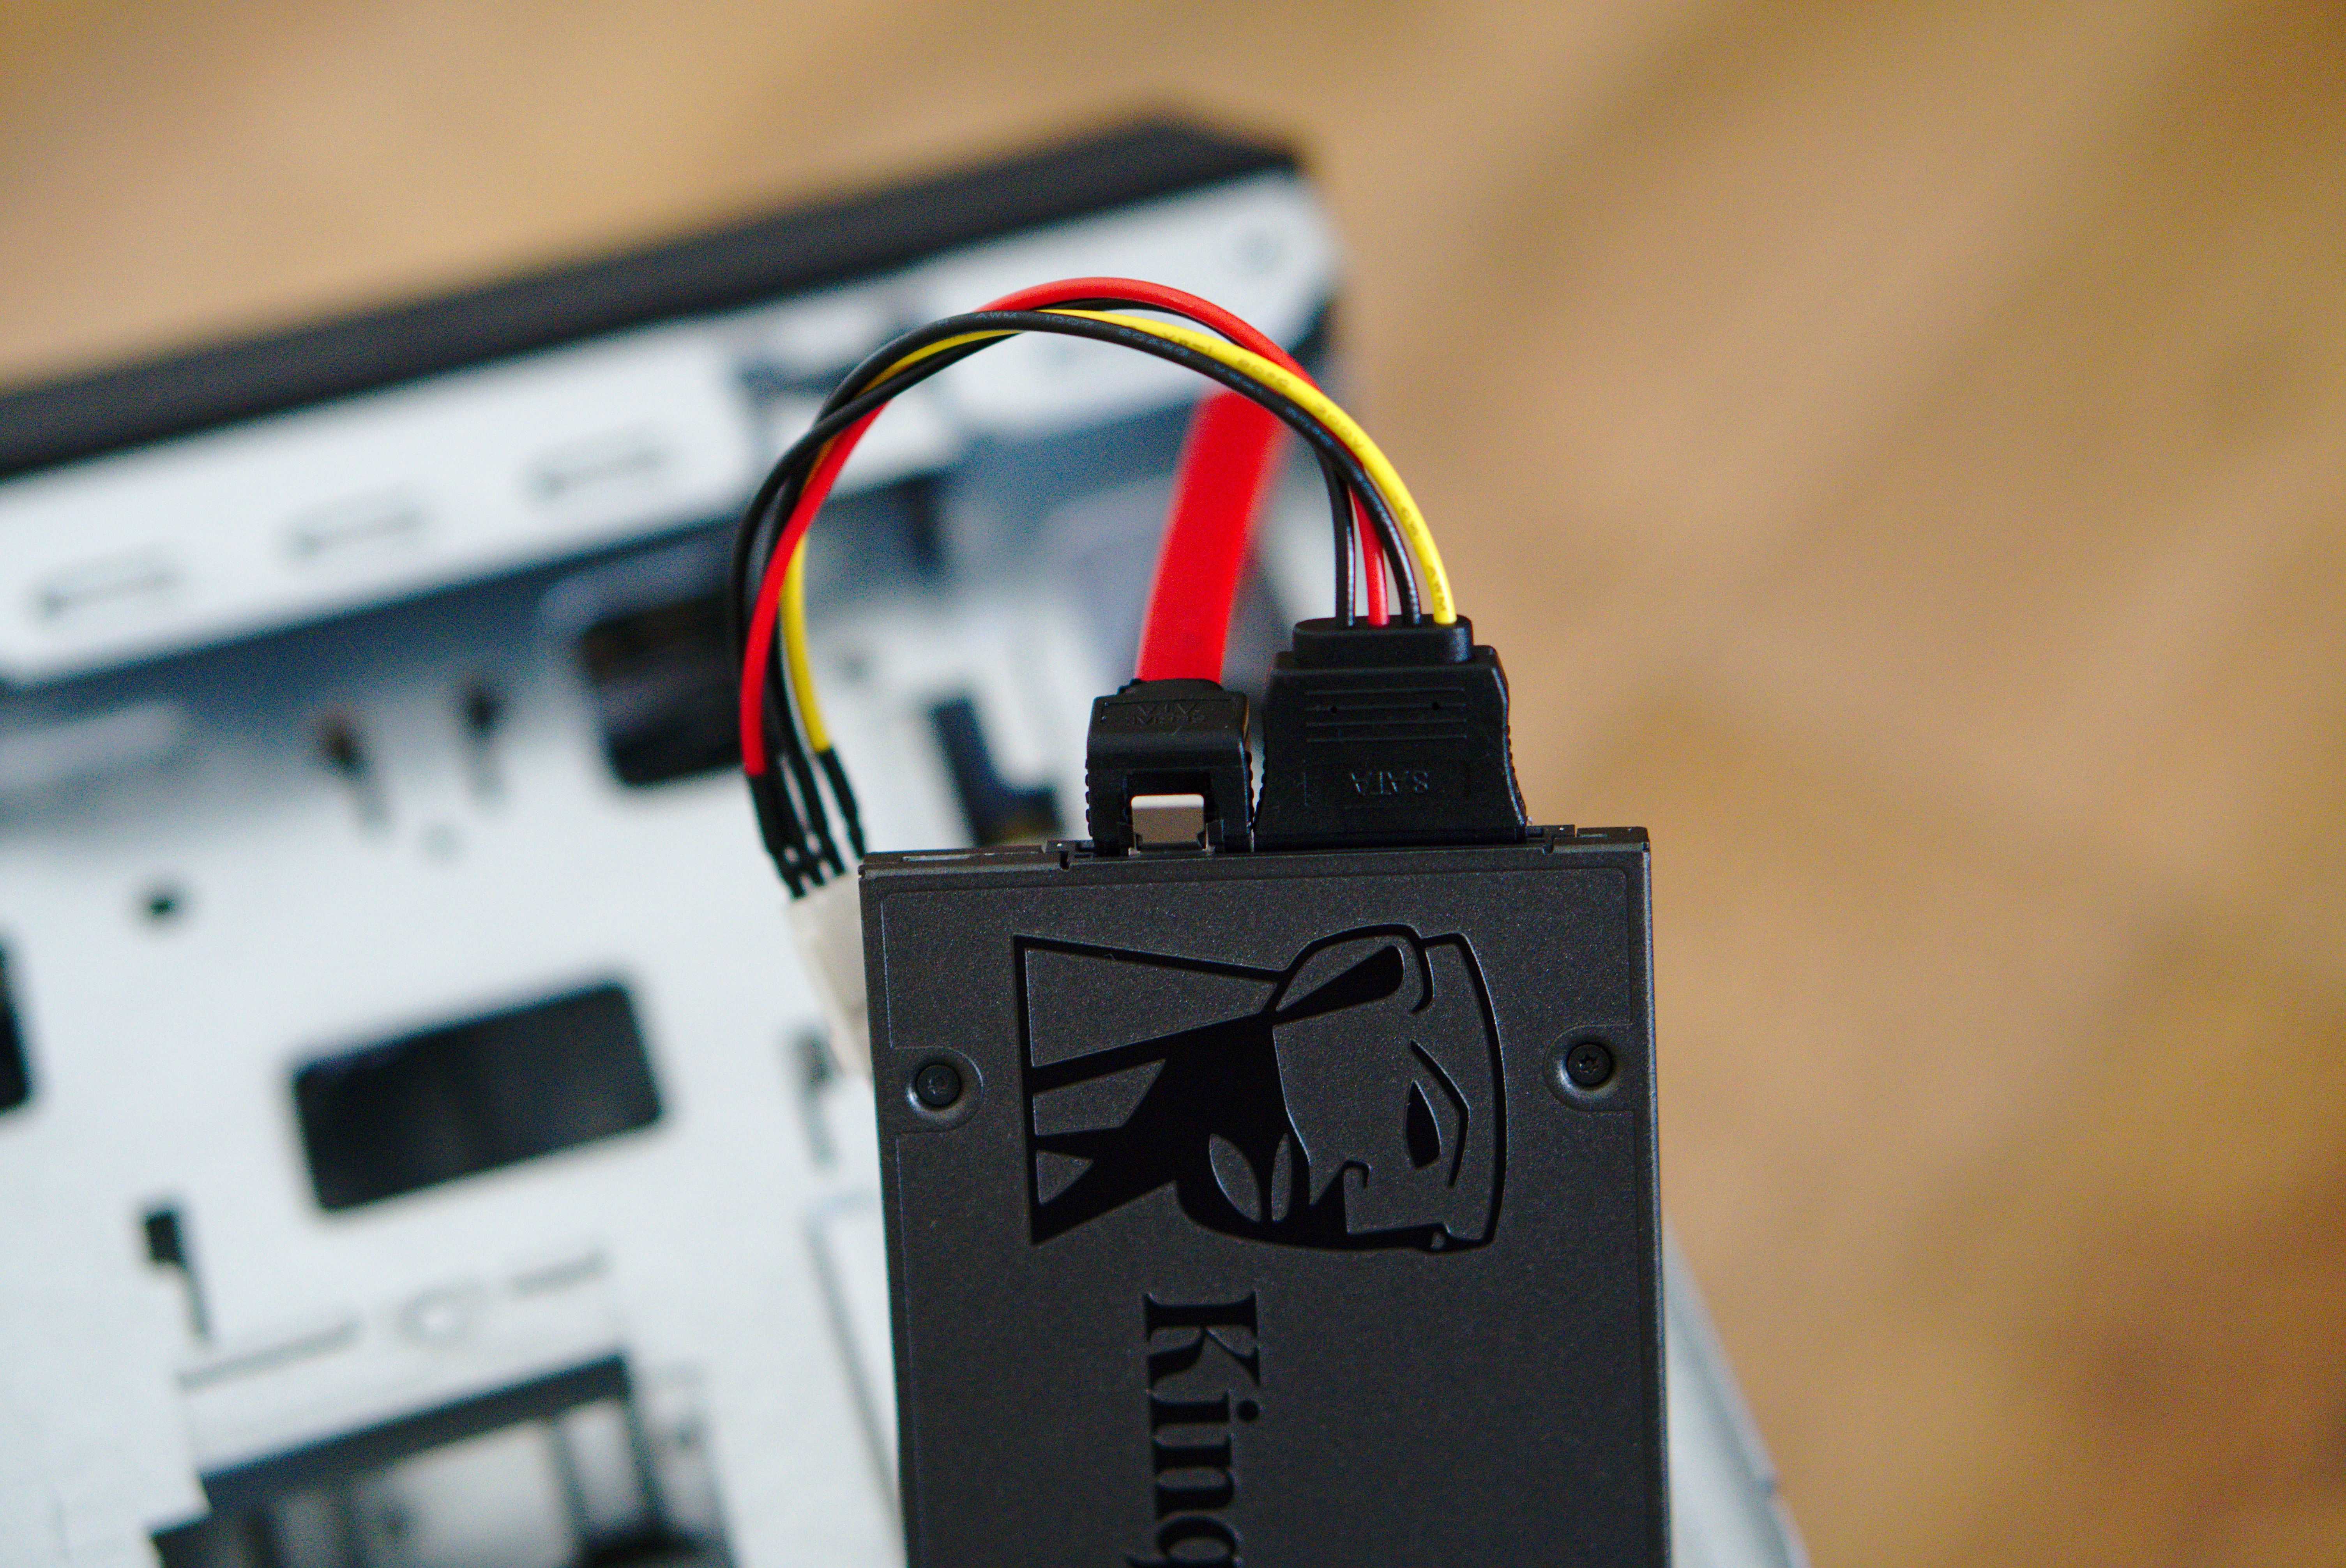
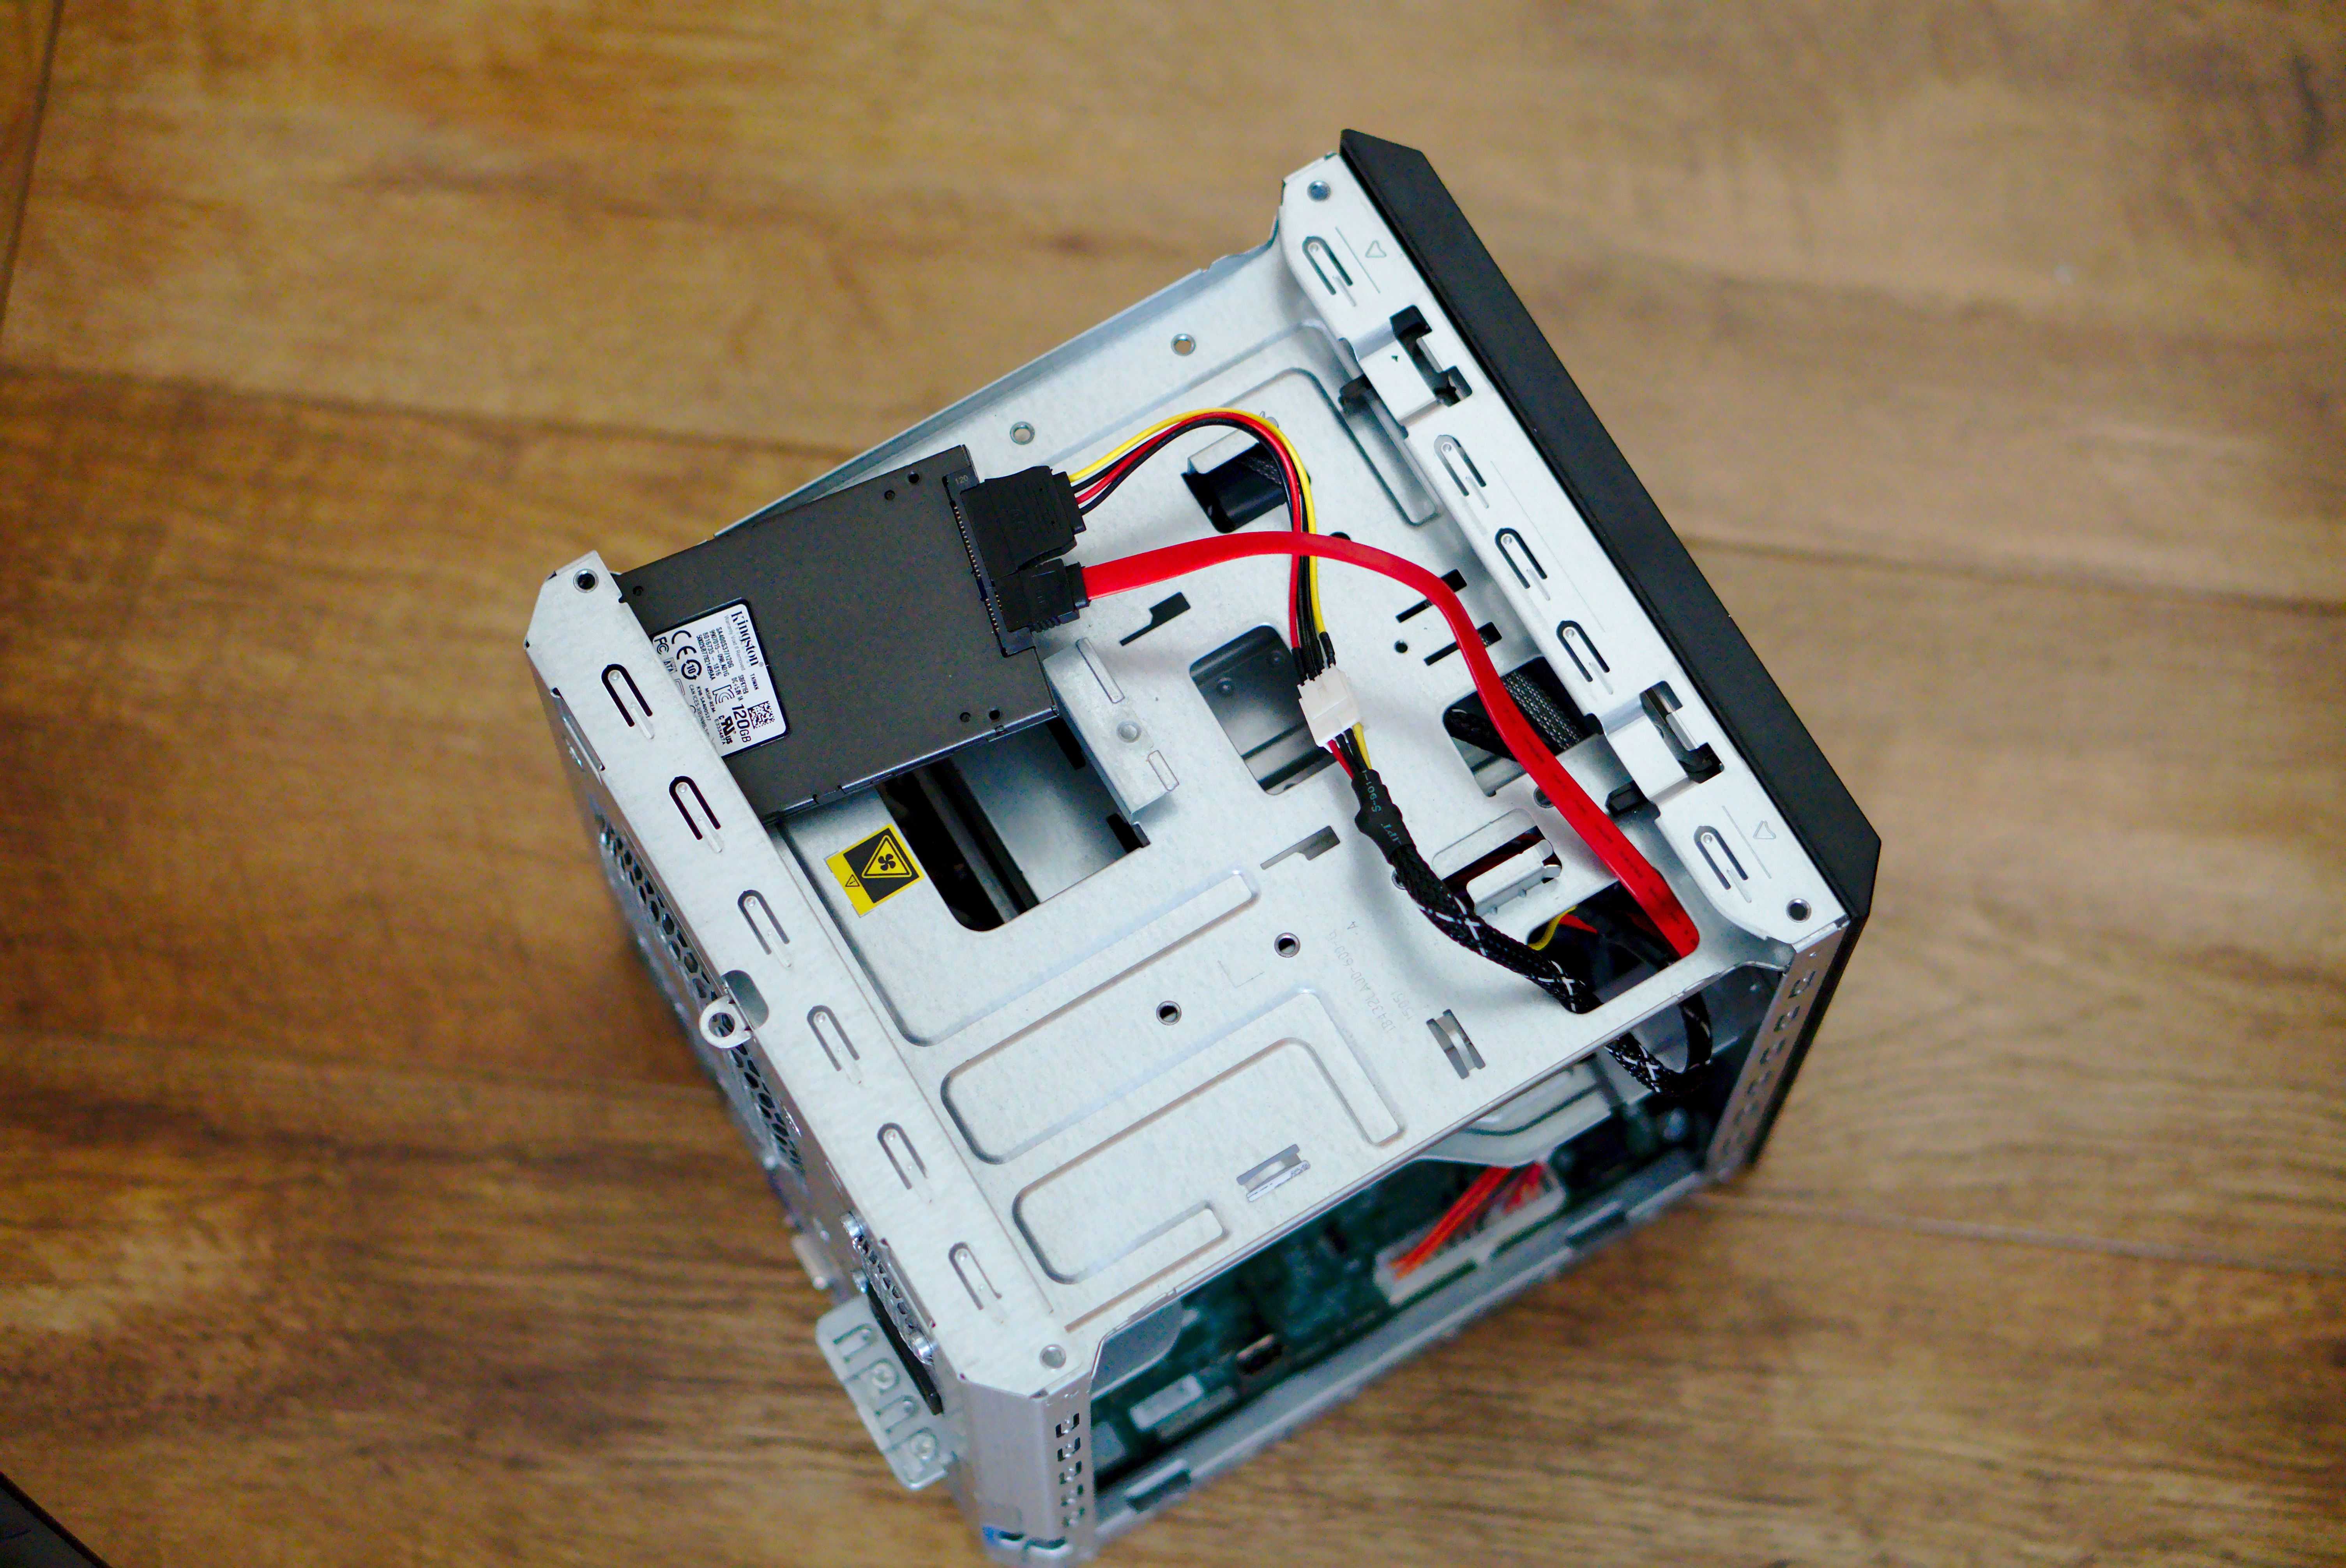
- Place the 2.5 inch SSD in the space for the optical drive and connect the power cable and data cable to the SSD.
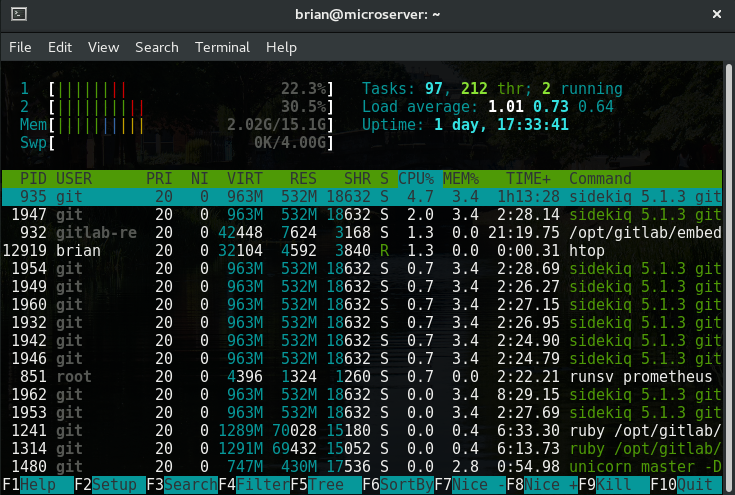
Put the chassis cover back on and you are pretty much ready to go to install your operating system of choice. To simplify the installation I would recommend removing any 3.5 inch hard drives that are installed, this will ensure that the SSD will be picked up and used as the boot drive. Also avoid those right-angle SATA data cables - I thought I was being clever ordering one of those however it made it more difficult to lay the SSD flat in the bay. The MicroServer is currently running solely as a GitLab server because I have still to get a couple 3.5 inch drives for the NAS server setup. It can handle this workload with ease as you can see in the htop screenshot below.